
How We De-Winterize and Sanitize Our Winnebago
Back in 2016, we wrote a post on the process we go through to Winterize our Keystone Hideout. We figured it was probably time for us to also document our process of de-winterization. While our RV has changed to a Winnebago Minnie Plus since the winterization post, the process is still the same. The goal of our de-winterization process is to prepare the water system for the season by purging all the antifreeze that was put in at the end of last year and sanitizing the system so that the water is safe to drink.
Let’s take a quick second to recap how things should be sitting right now, based on where we left them after winterization. Our bypass on the water pump should be in the normal operating position. The fresh water tank and water heater should be empty. The water heater bypass should still be flipped (bypassed) on the back of the water heater and we have pink stuff in all the lines.

The first step in our process will be to fill the fresh water holding tank with a bleach solution. The general ratio is 1/4 cup of bleach for every 15 gallons of water in the holding tank. In our Winnebago Minnie Plus, the fresh water tank is 50-gallons and there is a 10-gallon water heater so we use 1 cup of bleach. Due to the harsh nature of bleach, we do not pour it directly into our tank. Instead, we dilute the bleach in some water and then transfer that water into the fresh water tank. We generally use a large Home Depot style bucket, add the bleach and then add in one to two gallons water. By adding the water last it helps mix the bleach, but sometimes we will still stir it up a bit.
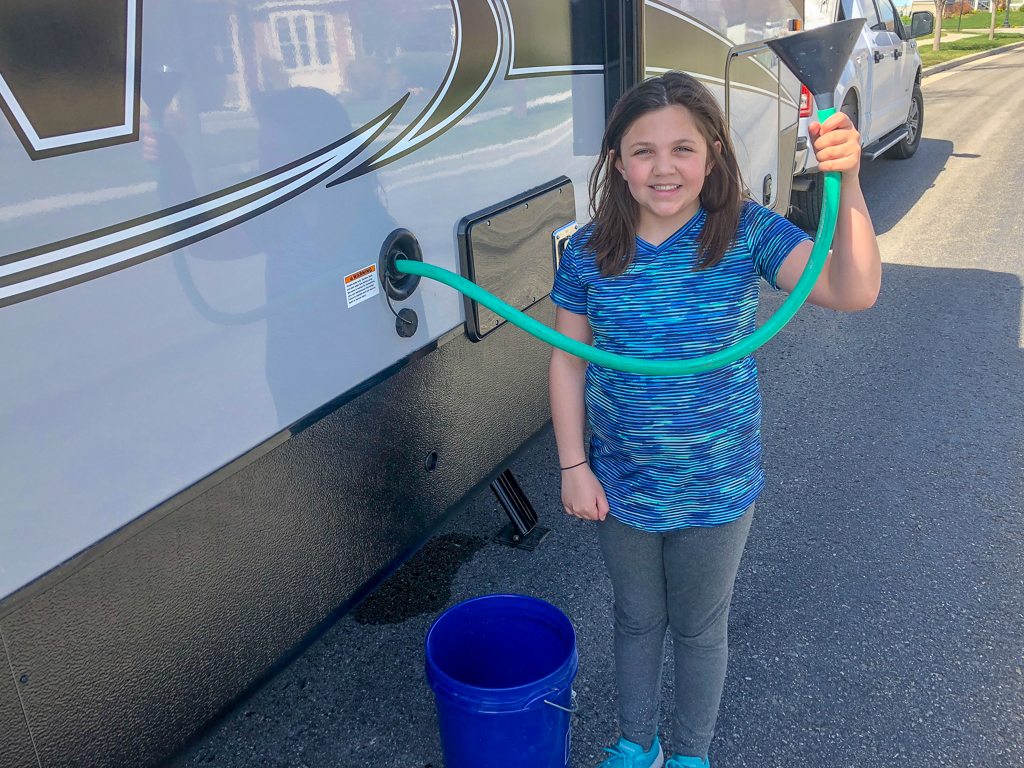
Now we take the bucket and pour it into the freshwater tank. While this sounds easy, in practice it is a bit more difficult. I have found that having a helper hold a large funnel in the freshwater port while I slowly pour the bucket into the funnel has worked the best. Once the bleach solution is in the tank, we take the hose and fill the remainder of the tank like we normally would do before leaving on a trip. While the tank is filling we flip the by-pass on the water heater to put it back inline and make sure the water heater plug is tightened.
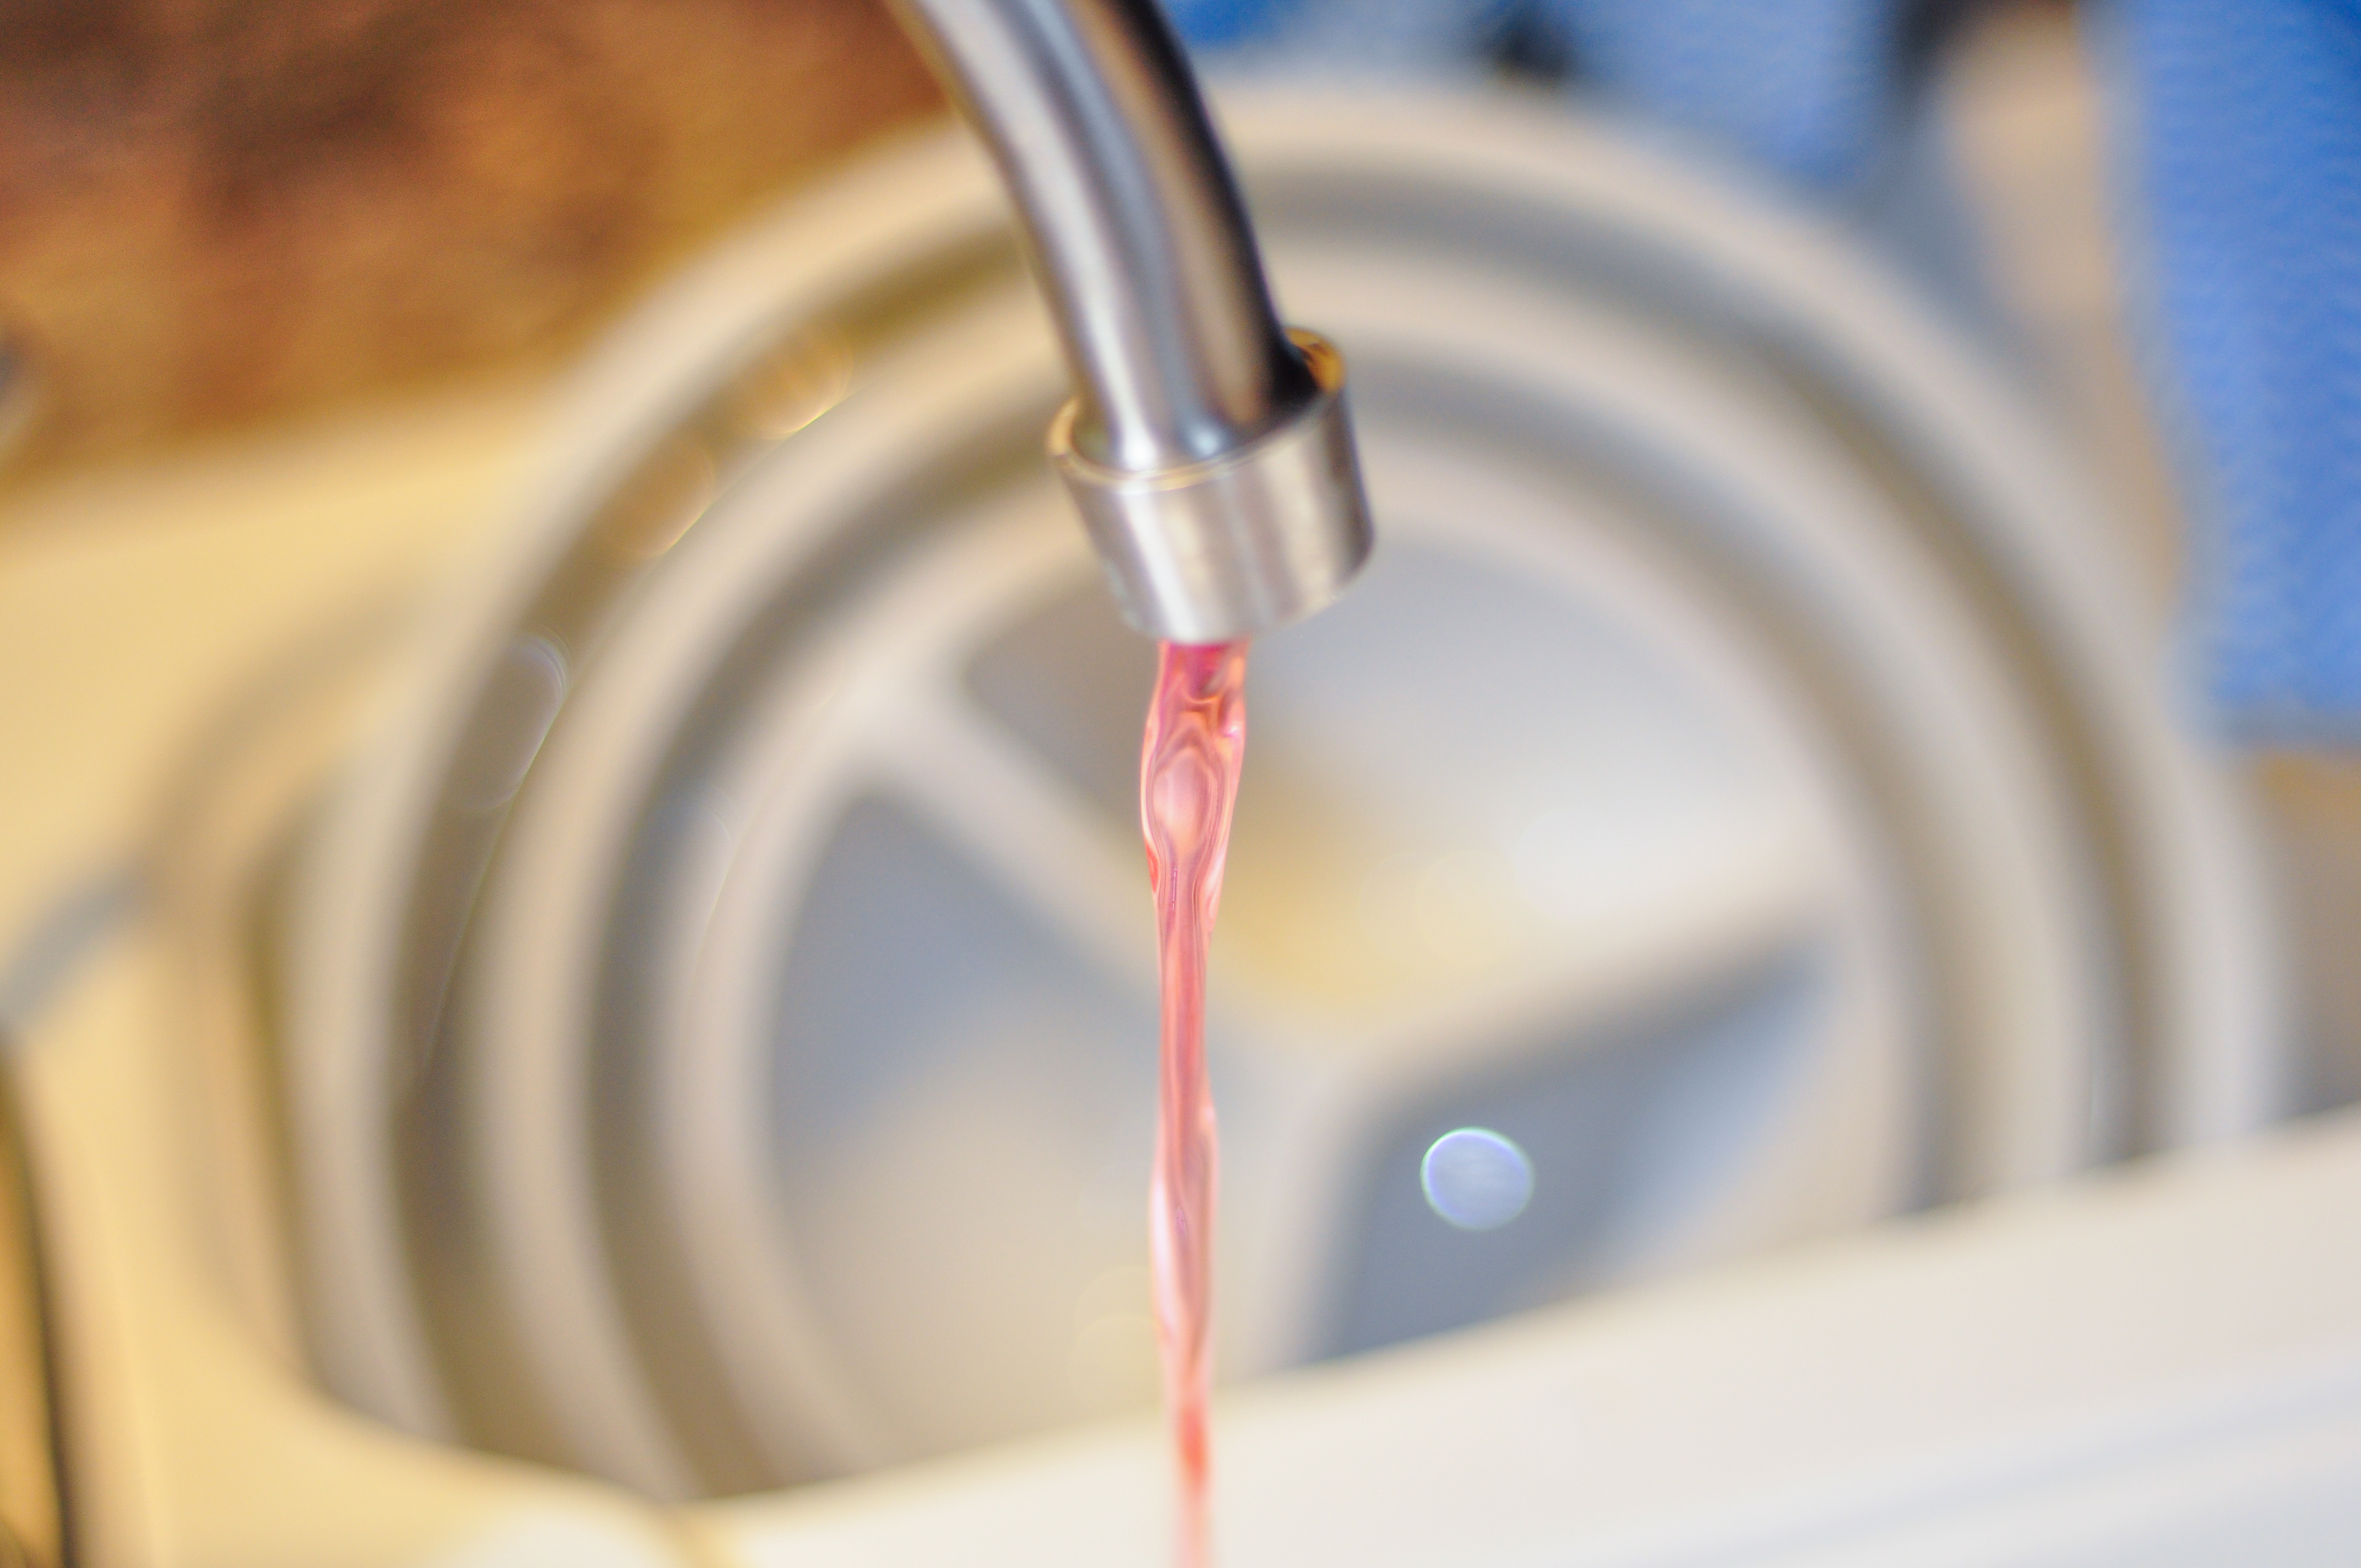
Once the tank is almost full we go inside and turn on our water pump to fill up the water heater. This will start pulling the bleach solution into the water system and pressurize your lines. We always make sure the pump turns off so that we know we don’t have any leaks. It is also helpful to go outside and check around the rig to make sure you don’t have some type of leak from an open low point drain. Once the system has pressurized and the pump stops running we wait for the fresh water to finish filling and then turn off the hose. We then go to each faucet and open it up on hot and then cold until we see the water go clear and can smell bleach in the water. We then do this same process in the indoor shower and outdoor sprayers. There is no real need to do the toilet. Now with bleach in the freshwater tank, water heater, and all the lines, its time to crack open our favorite beverage and let the system sit for several hours. Generally, we let it sit for at least three hours and occasionally overnight. If we are really motivated, we even drive the trailer around a bit to agitate the water.
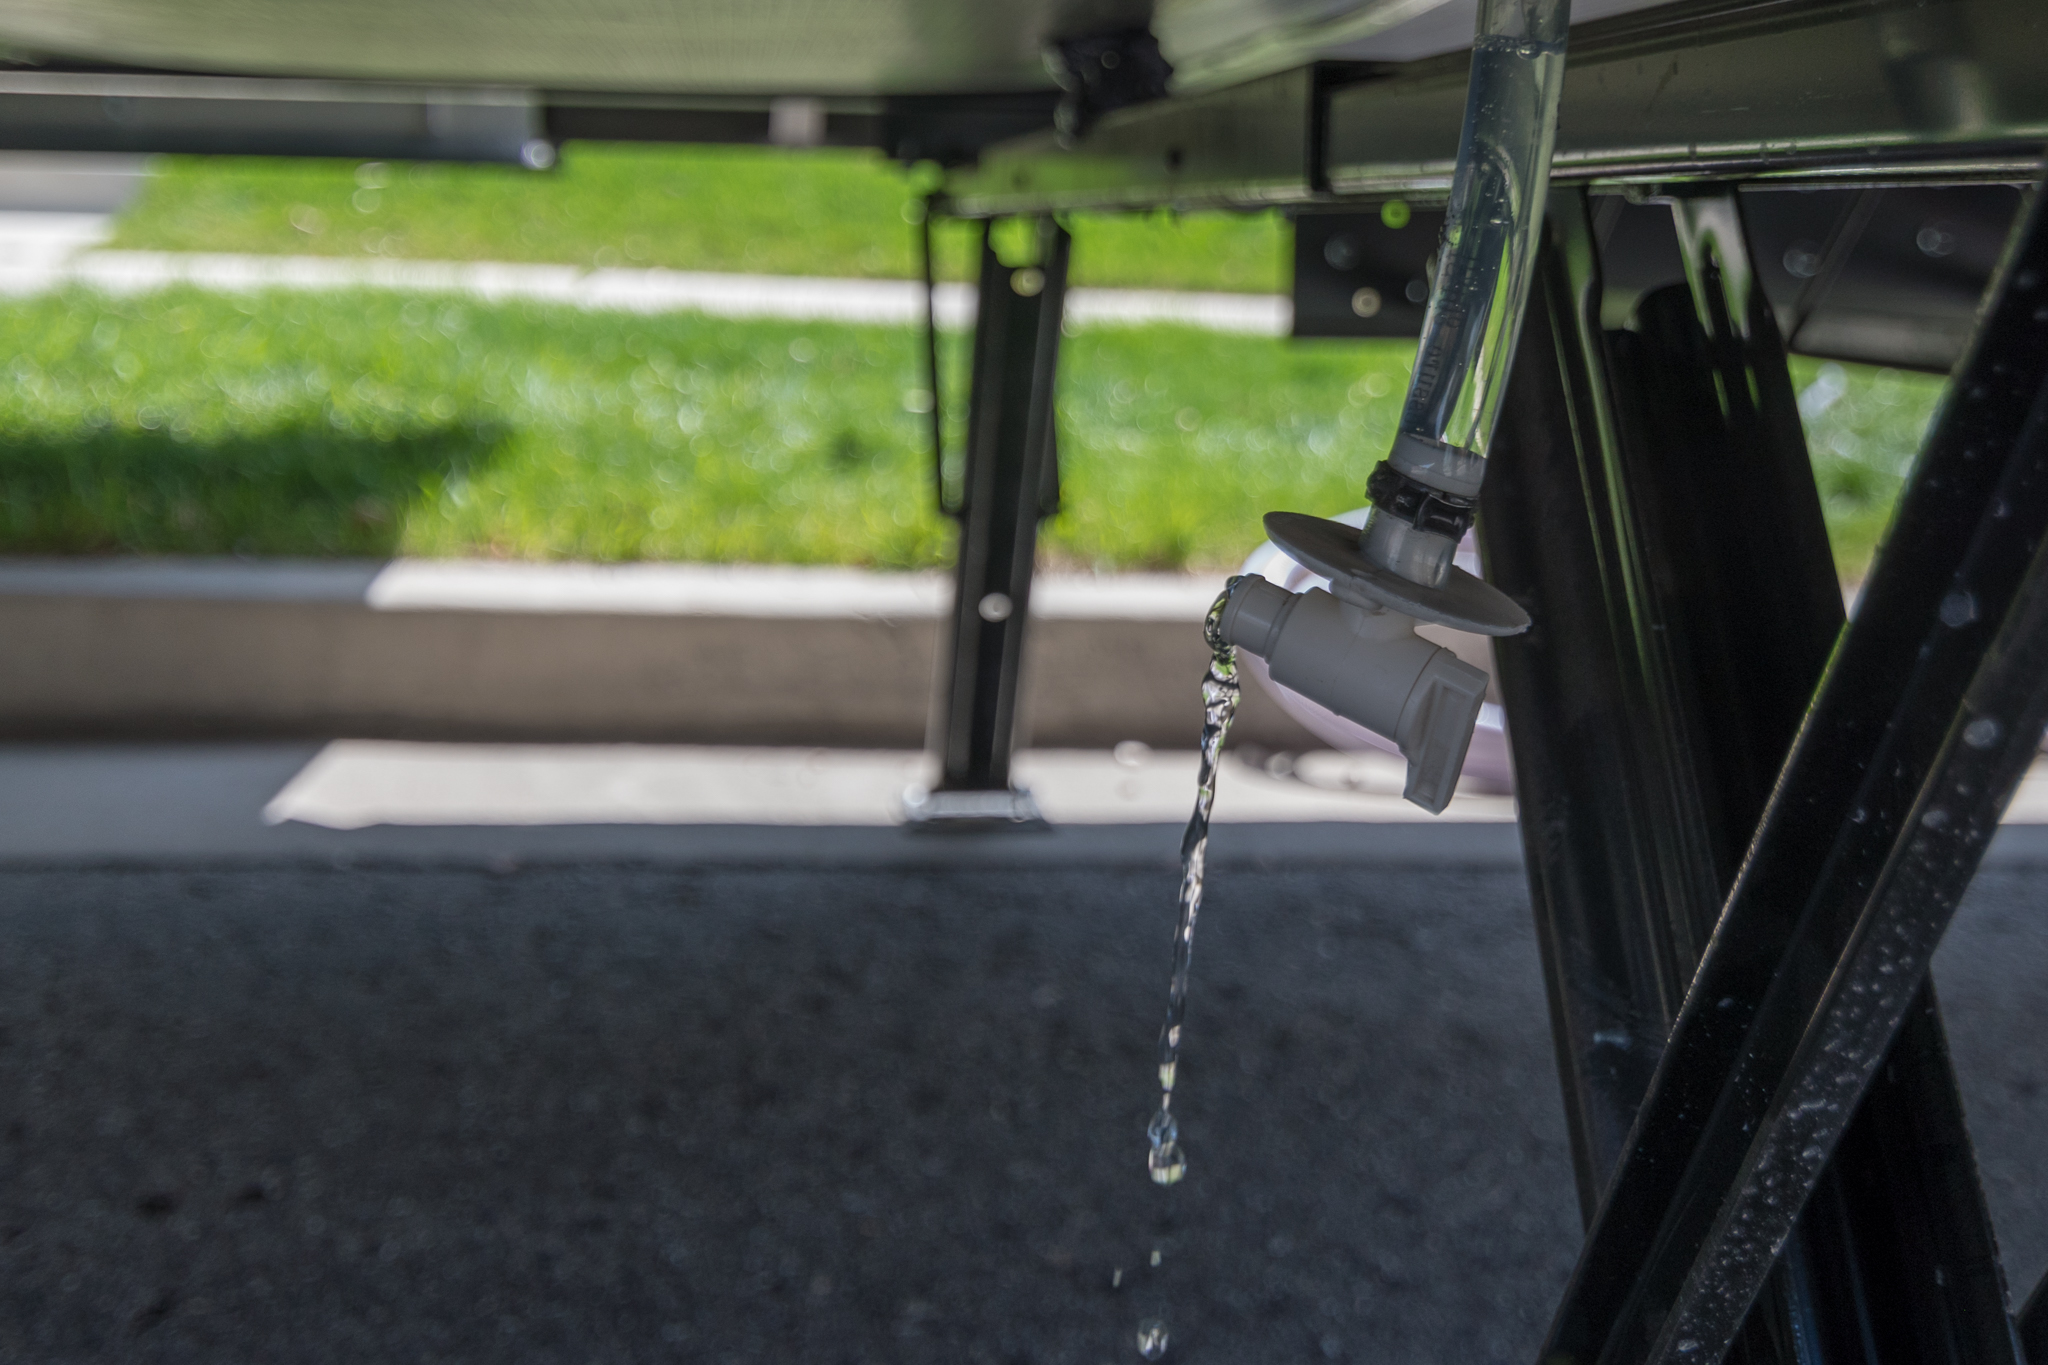
After 3 hours or the next morning, we open the freshwater tank and allow it to fully drain. We also release the pressure on the water heater and drain it making sure to replace the plug once done. With the system basically drained, we once again fill up the fresh water tank and turn on the pump to start bringing the fresh water into the system. We then go one by one to all the faucets, sprayers and shower (both hot and cold) and open them allowing water to flow until we can no longer smell bleach. We also tend to run the toilet a bit at this point to ensure proper operation and no leaks. Don’t be shy here running the water as it helps flush the lines and also adds water to the various holding tanks. Now is also a good time to verify operation of the water heater on propane and electric.

The final step in our process is a visit to our local dump station. We hook up the black flush and start to put some water into the black tank (you can also do this part at home if the dump station is busy or don’t have water). Once we have the tank at least 2/3 full, we dump the black, followed by our two gray tanks. We then make sure the water heater is off, release the pressure and then pull the plug and allow it to drain. We also open up the fresh water tank and allow any remaining water to drain.
That’s it! Not a hard process but it does take a little bit to get through it. Occasionally we will also repeat the sanitization process with the bleach mid-season to help keep the system fresh.
2 thoughts on “How We De-Winterize and Sanitize Our Winnebago”
I never owned a trailer until just recently. The instruction manual was pretty vague on dewinterizing/sanitizing. You broke it down to simple instructions. Thank you. I’m glad Google brought you up in my search.
We are also glad to have found your step by step directions! Thank you for making it simple to understand.