DIY Water Heater Drain
Ever since we started RVing, it has bothered me how the water heater drains water all over the place in a fairly uncontrolled and difficult to stop manner. In fact, in our first trailer, I once forgot to relieve the pressure before removing the plug and it shot across the storage lot like a bullet. I never did find the plug and had to replace it.
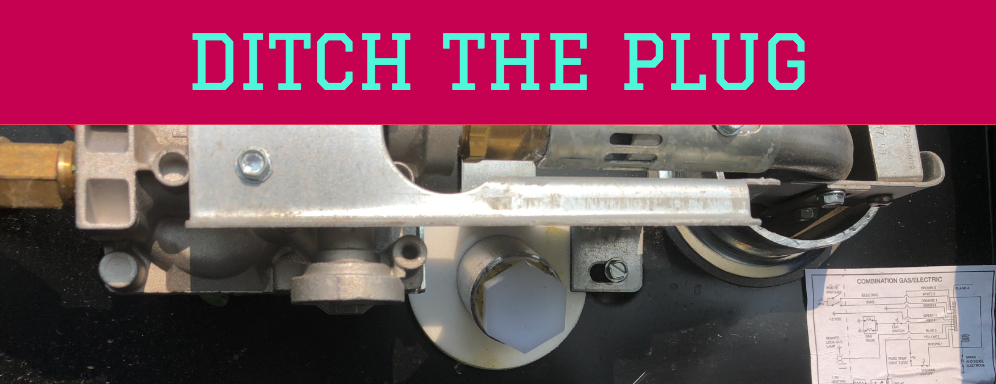
Nylon plug 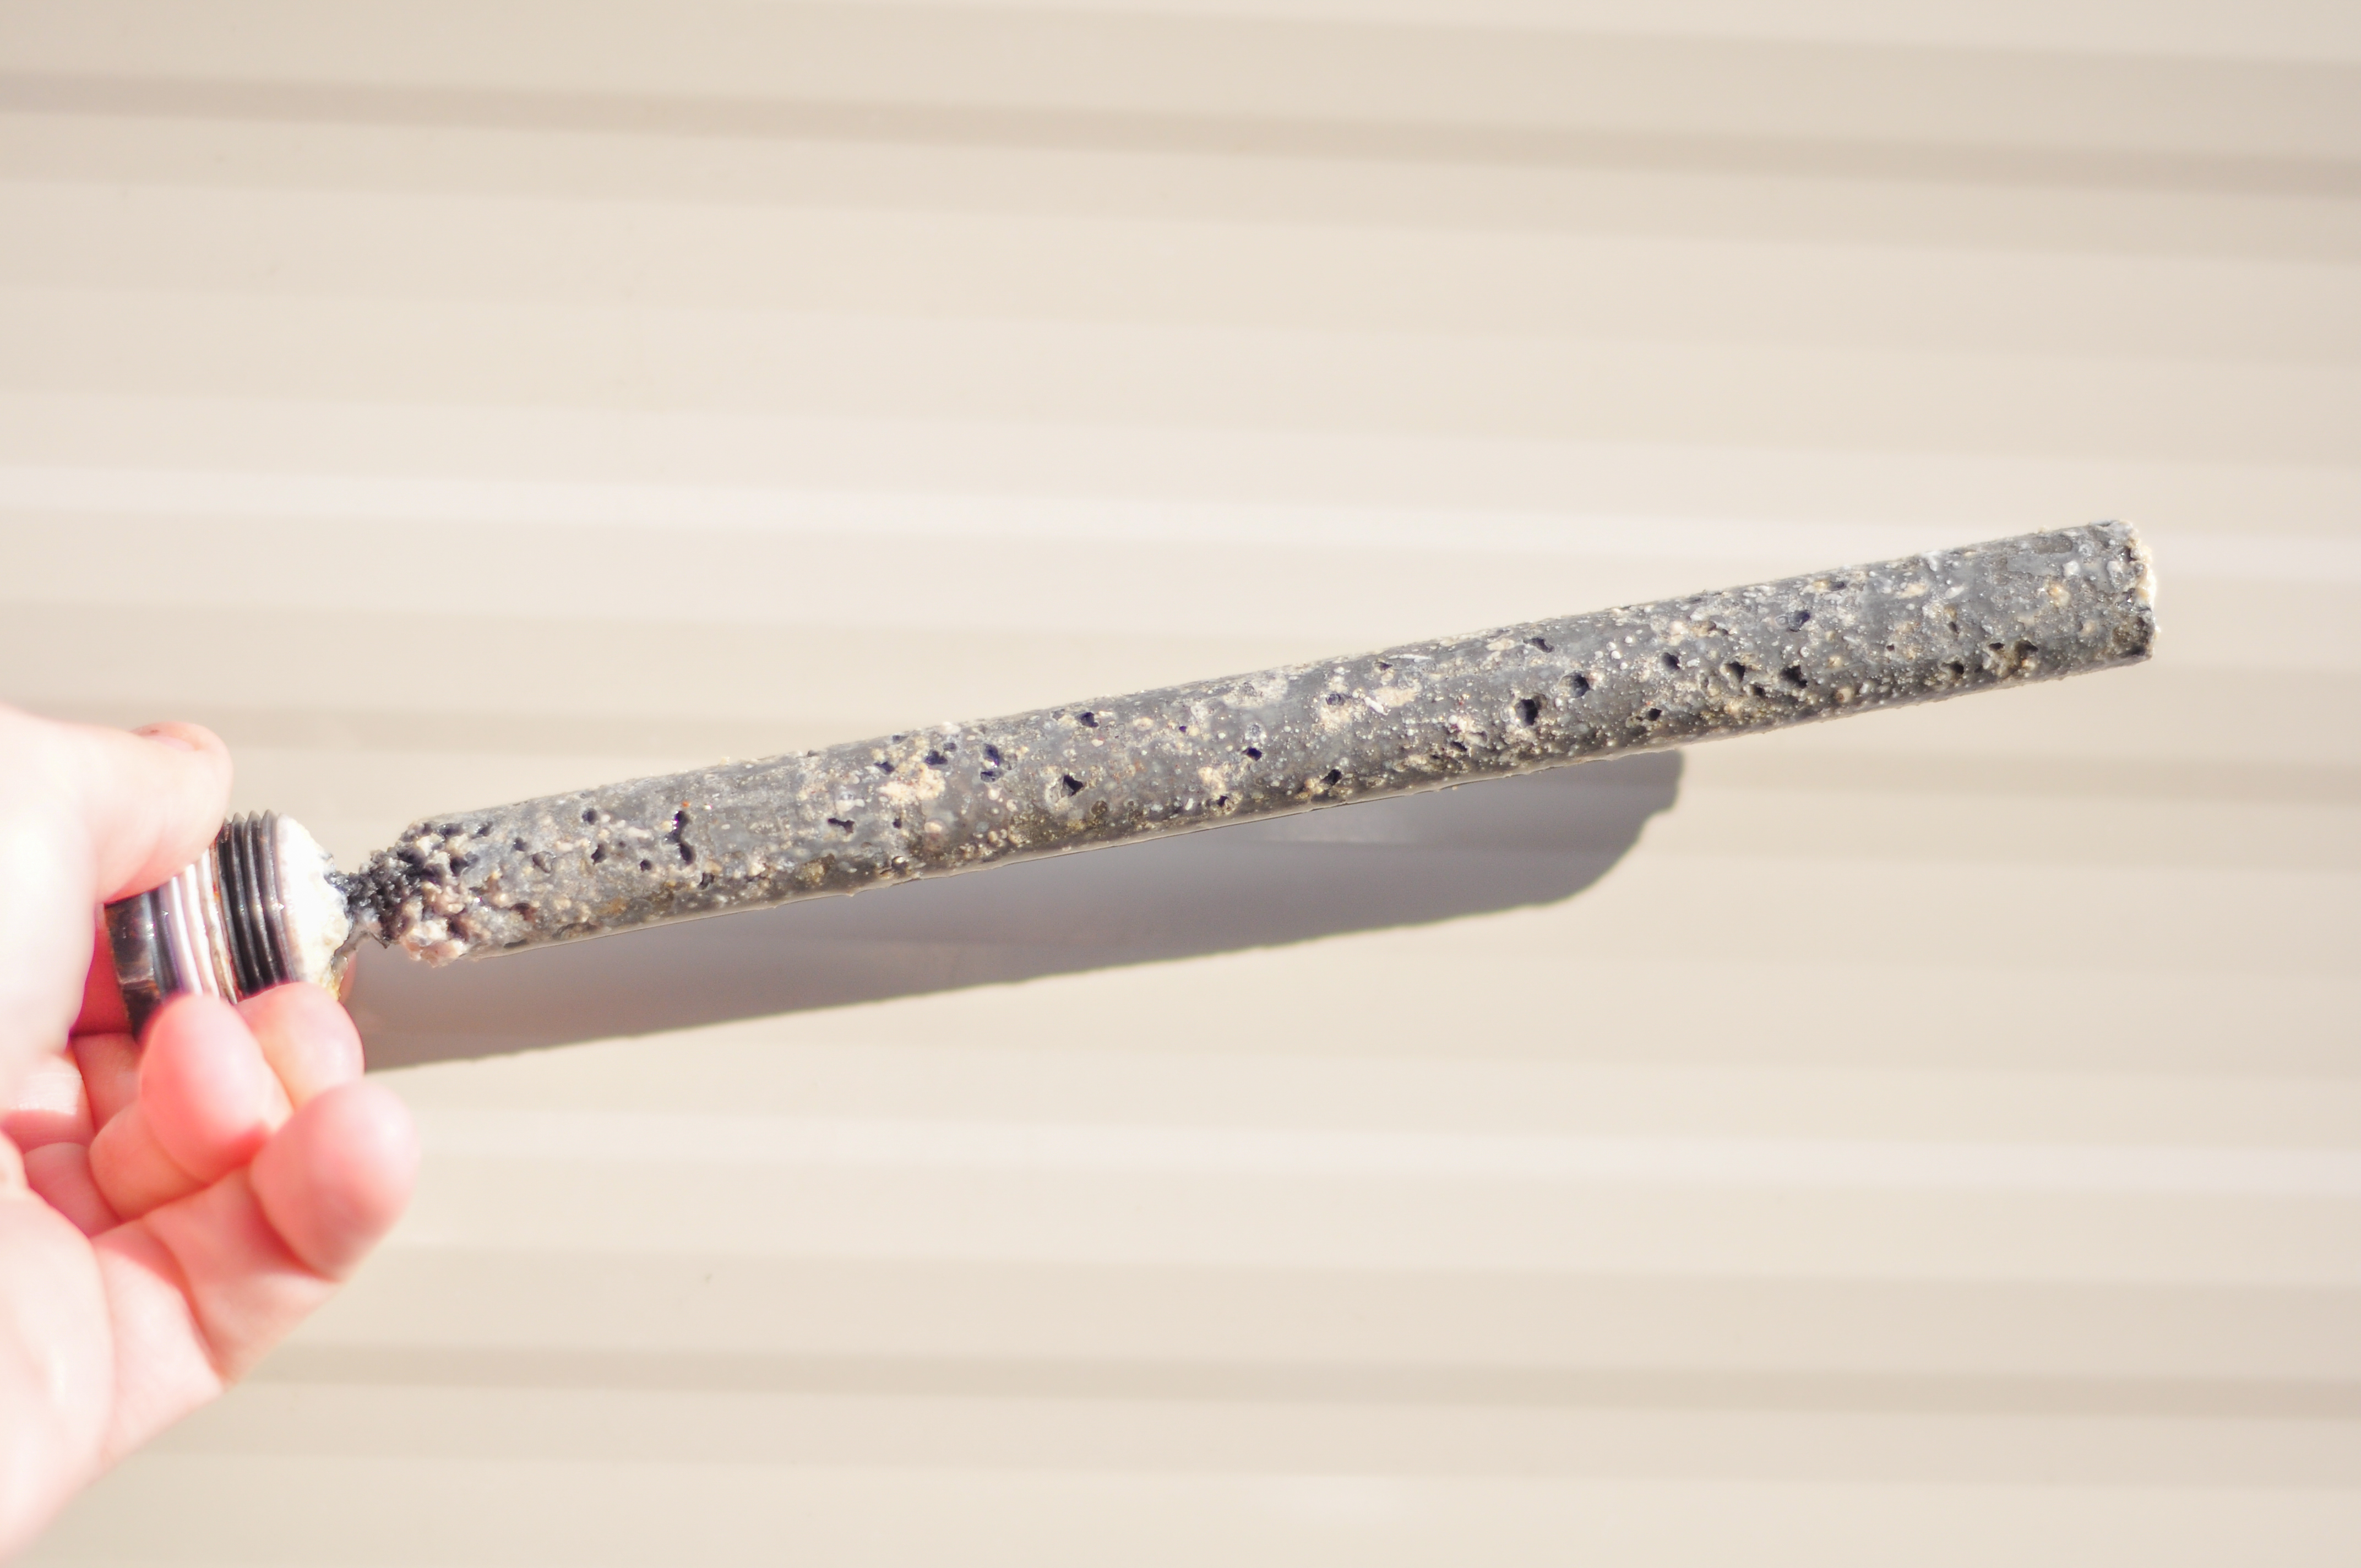
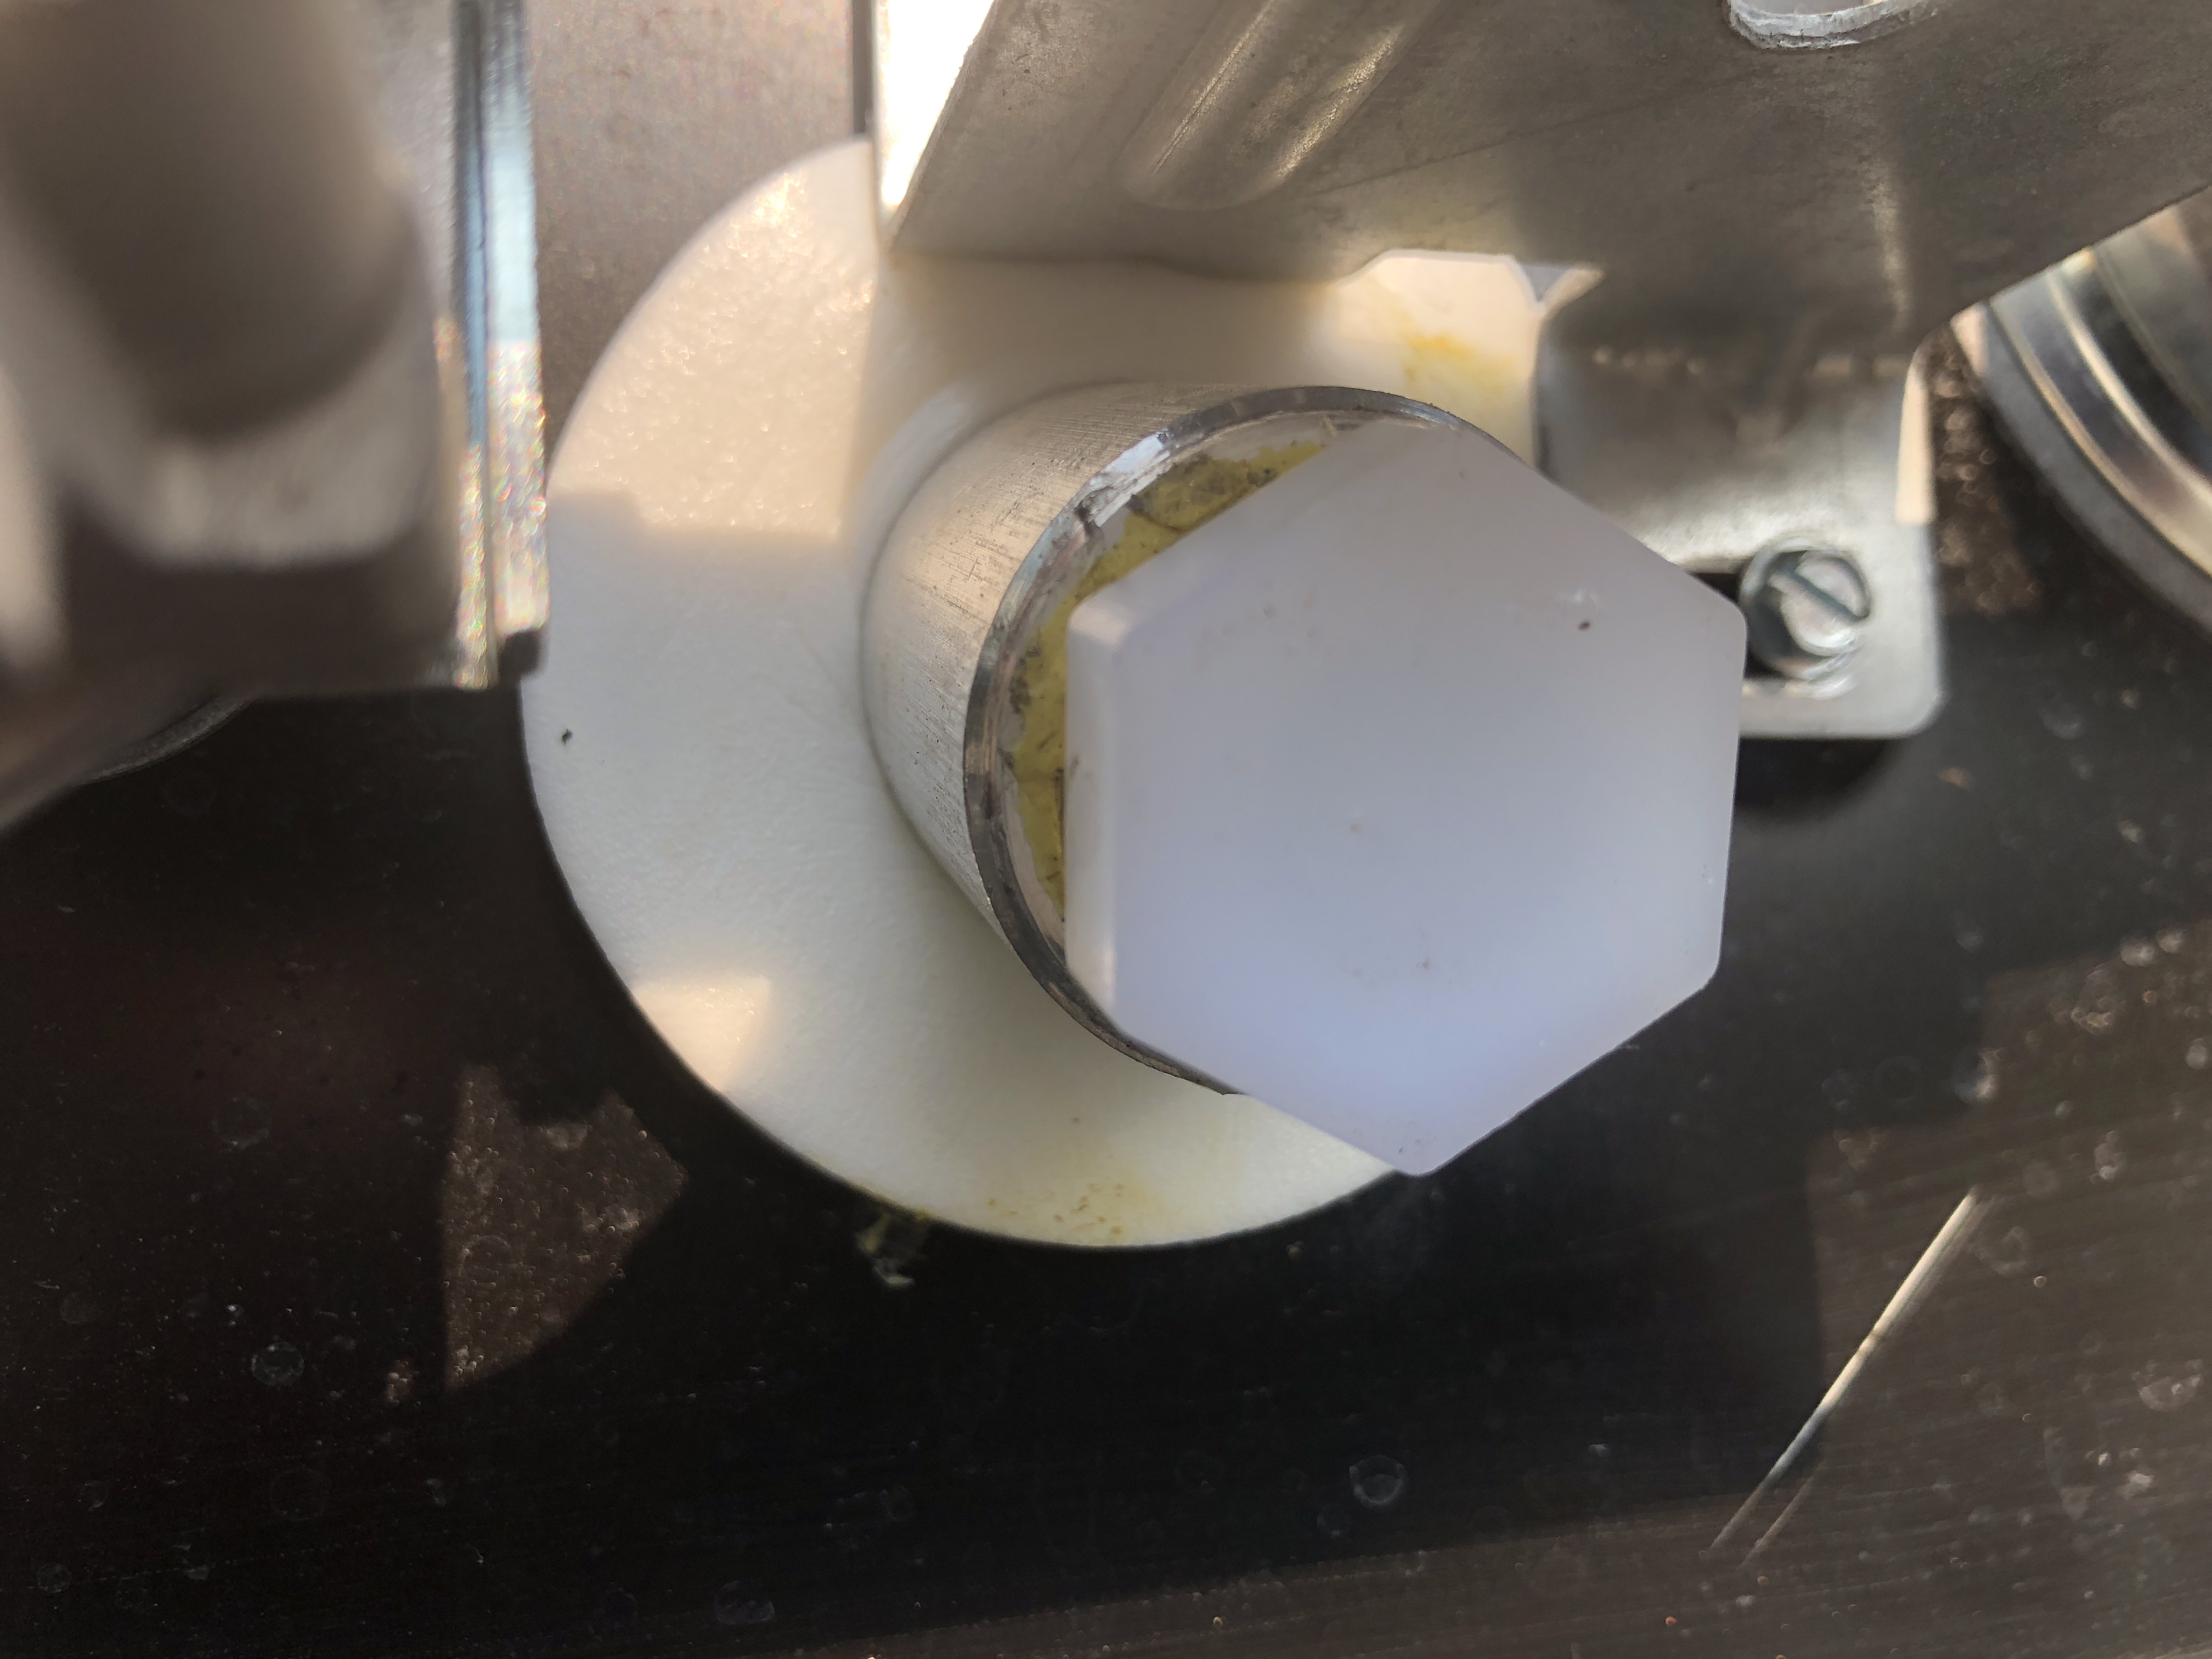
Anode Rod
So first off, this project will not work on water heaters that require an anode rod. In our Winnebago, the water heater has a nylon plug so it was a great candidate for this project. If your water heater has an anode rod, you will have to settle for just pulling the plug/rod out after each trip.
Parts List
- 1 – Hex Nipple 1/2″ MIP
- 1 – 12″ Braided Faucet Hose – 1/2″ x 1/2″
- one side is not actually 1/2″ so make sure you get the correct v
alve
- one side is not actually 1/2″ so make sure you get the correct v
- 1 – Multi-Turn Straight Valve
- Teflon tape
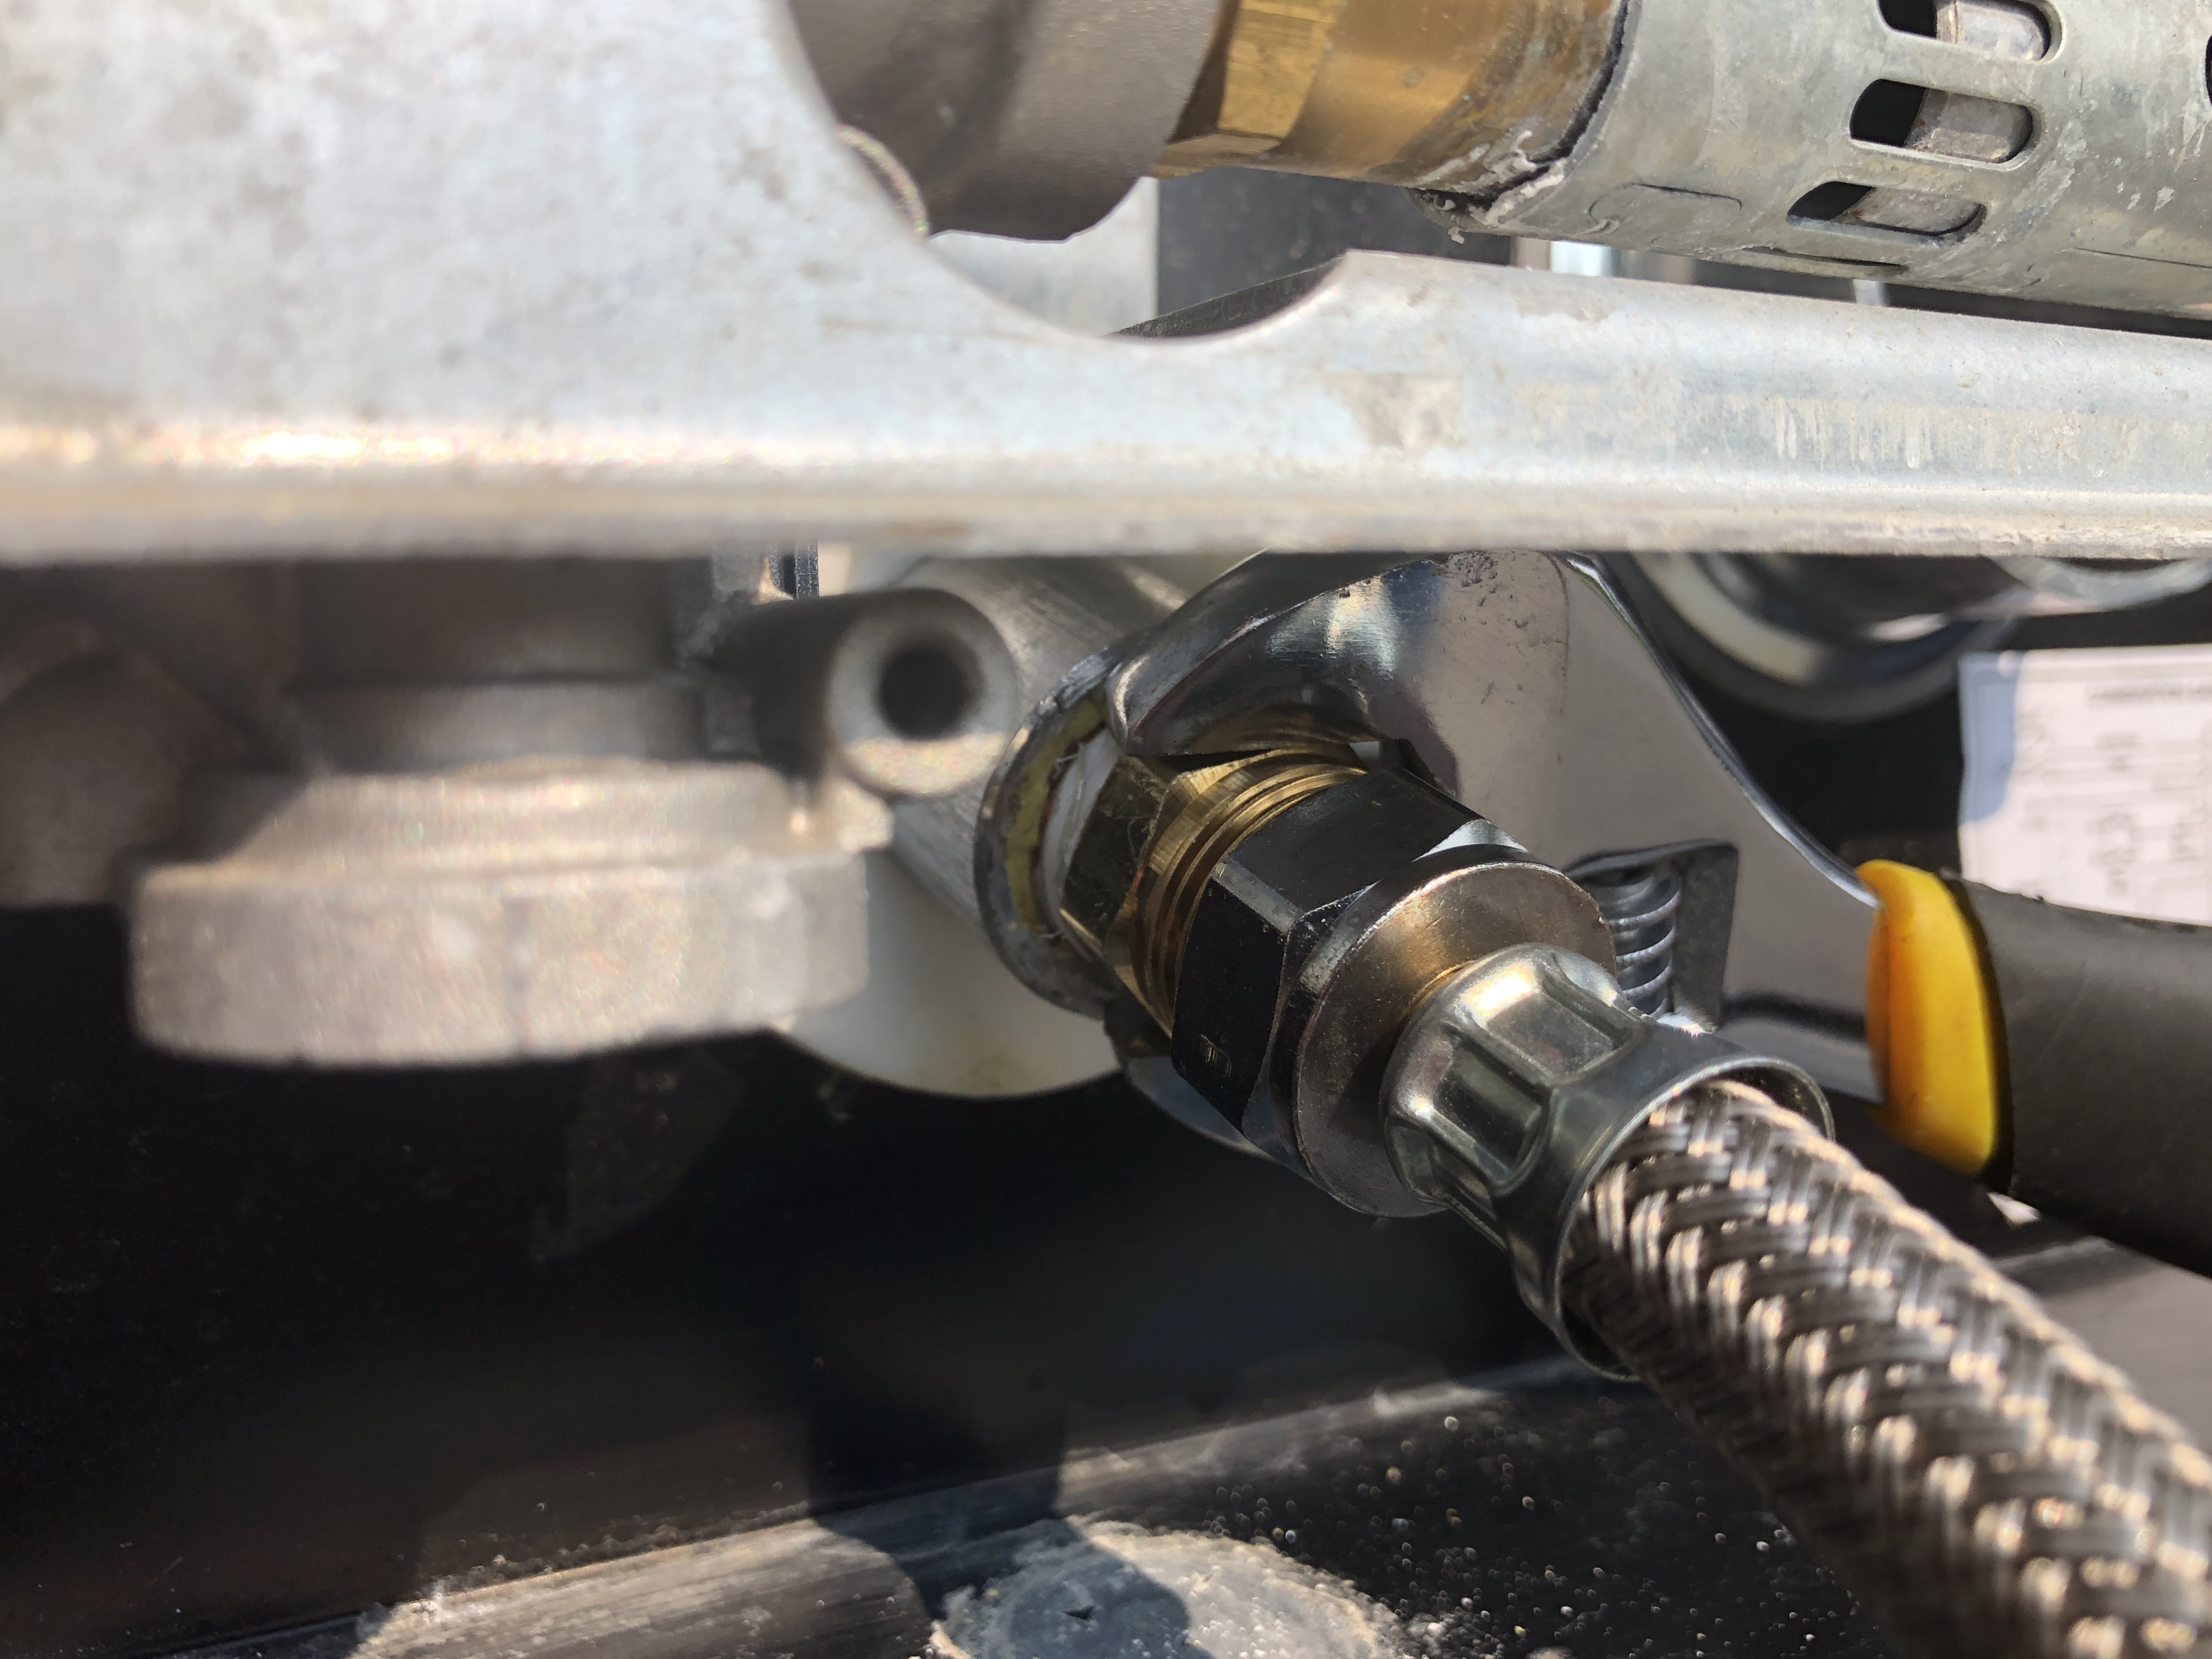
We started off by removing the plug and draining the water heater. Being sure to release the pressure on the tank before removing the plug. We put some Teflon Tape on one end of the Hex Nipple. Then we attached the other end to the Braided Faucet Hose (should be a compression fitting) and connected the
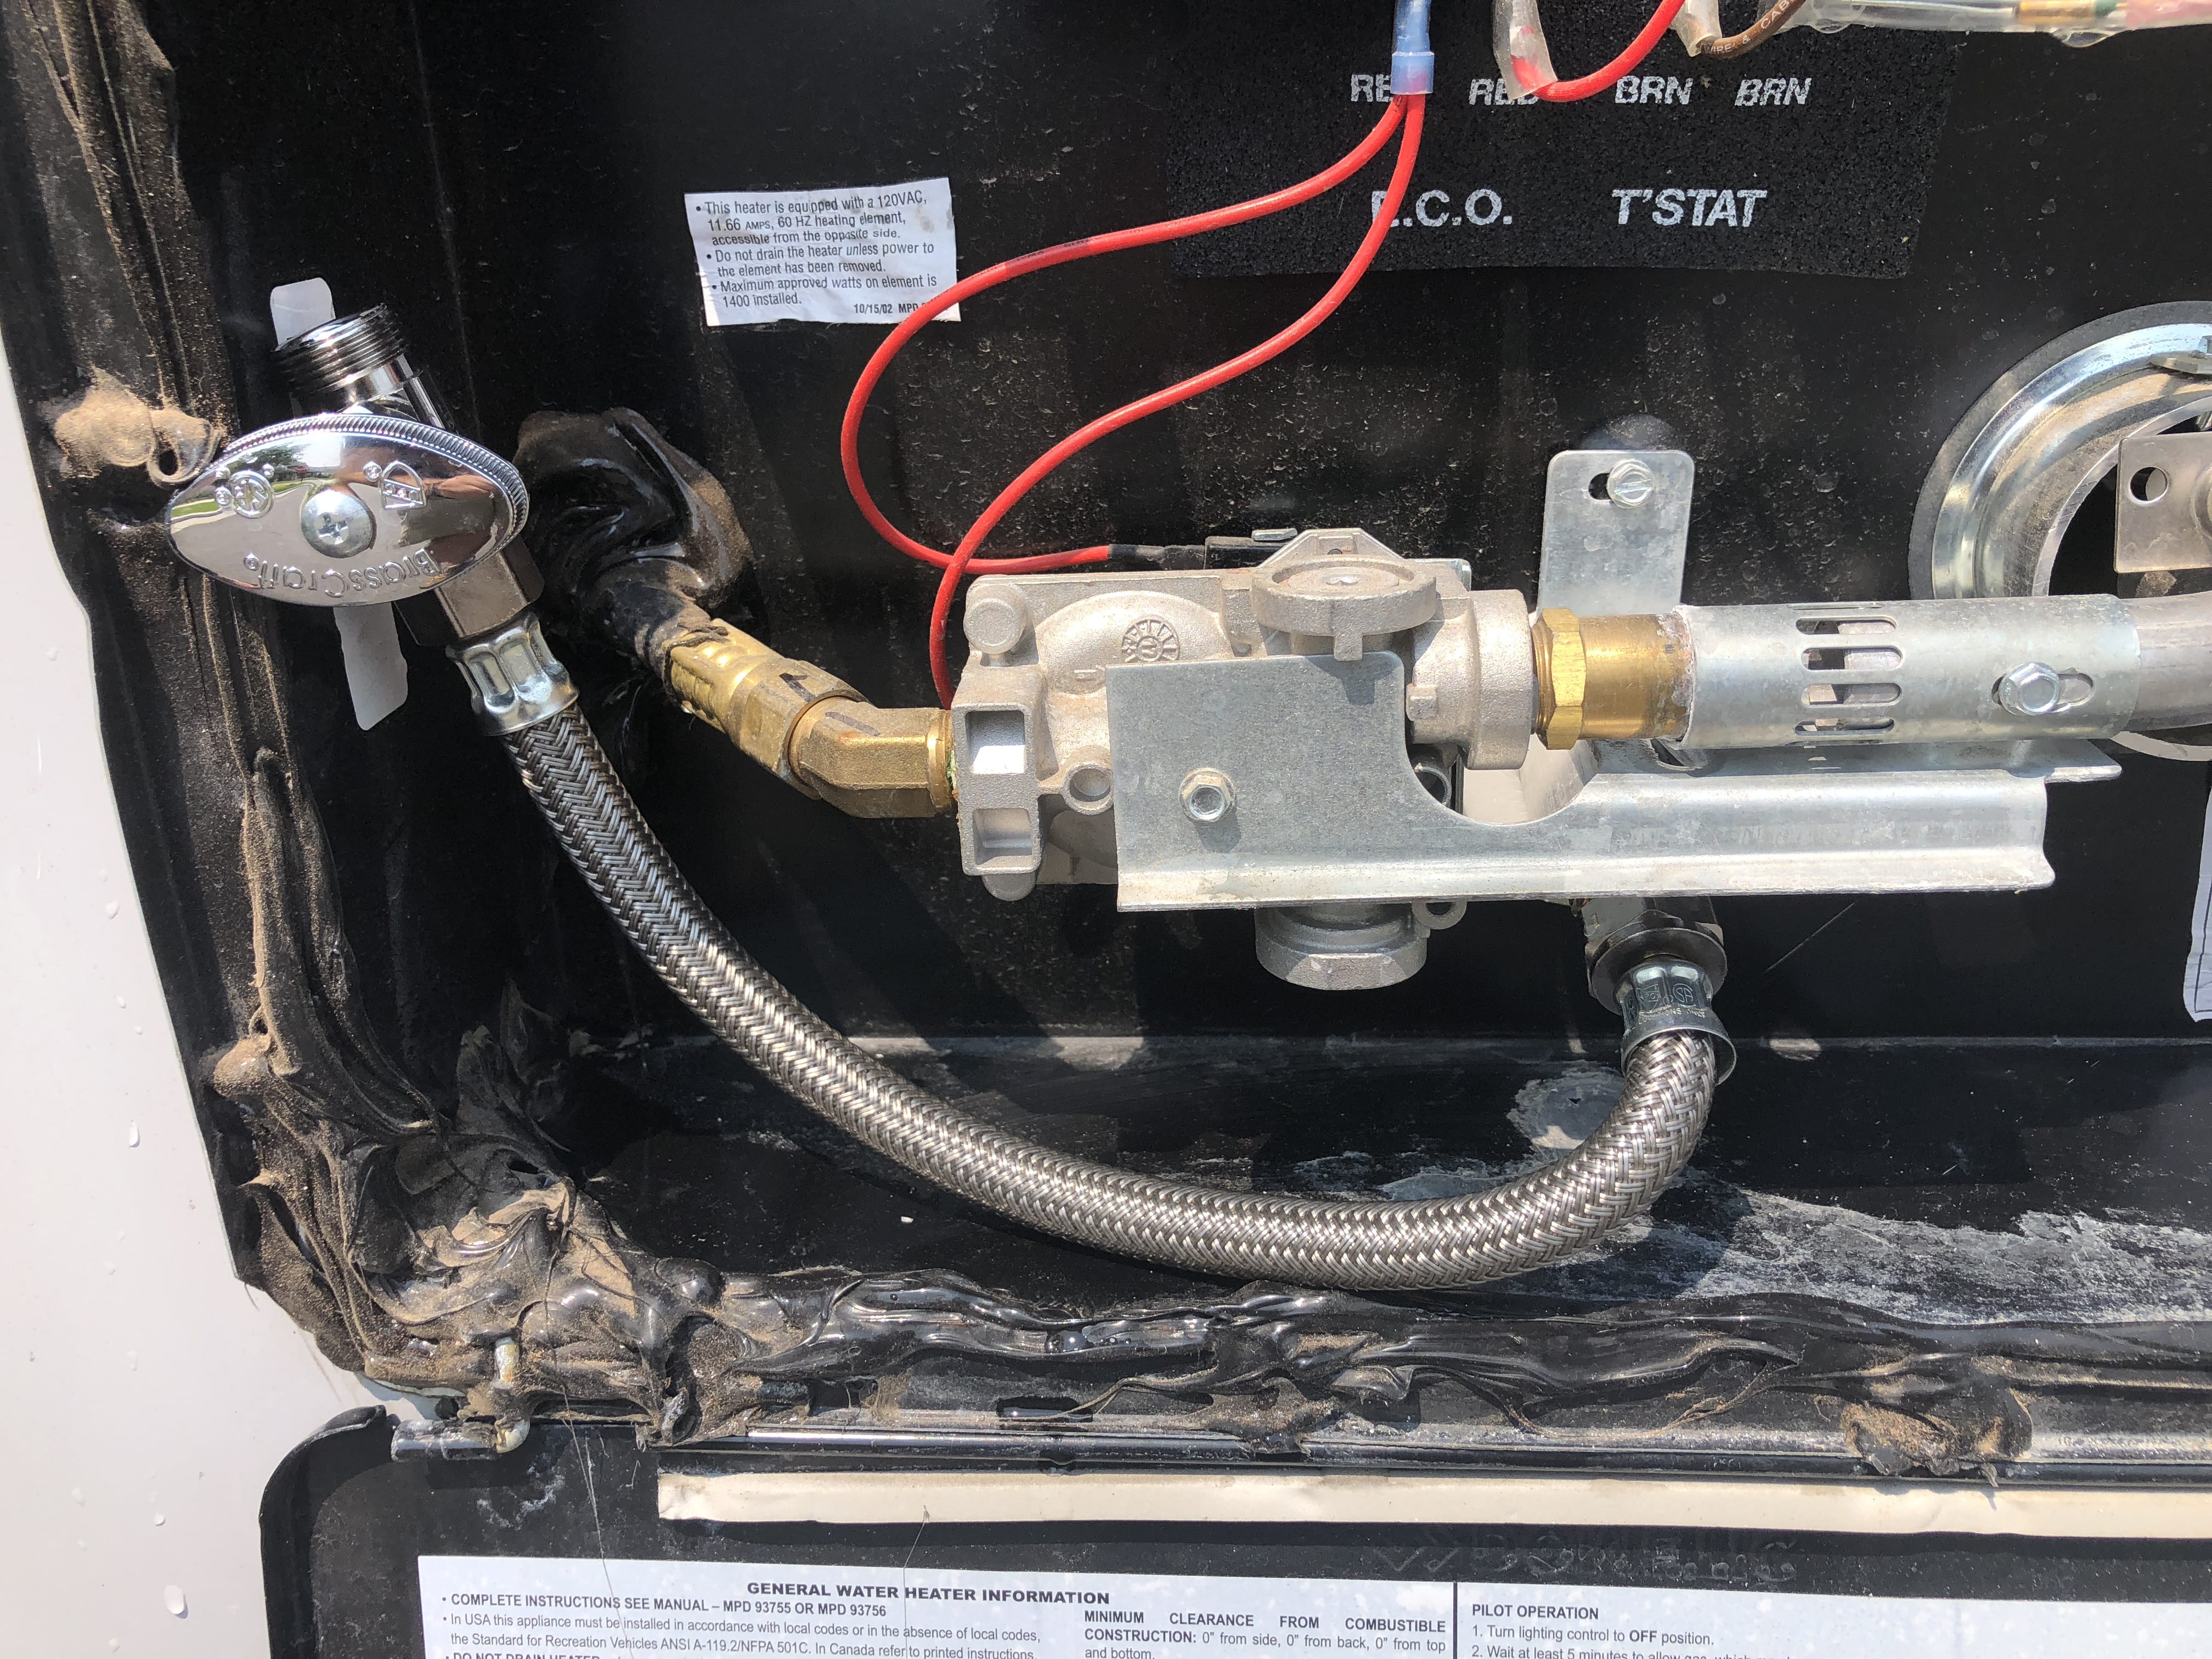
Now when we wrap up one of our adventures, we simply open up the water heater cover and turn the valve. The water starts to drain out in a controlled, and stoppable, manor.