Finding Our Way
While RV Vacations can be very relaxing, the planning and preparation for one can be a bit of a stress point for many. Planning is in my nature and I actually enjoy the process, but I know not everybody does. I have worked as a project manager and fell that I leverage some of that experience when lining out our adventures. As such I would like to share some of our process and tools that we use in hopes that it will make your job a bit easier.
The Location
Where we are generally weekend warriors, all of our adventures center around some type of location. In different phases of life, you can take a bit more time and go where the wind takes you, but for us right now, we have to stick to a schedule. Identifying a place is generally easy as the ideas can come from virtually anywhere. Magazine/blog articles and conversations with fellow campers and co-workers are some of our favorite ways to identify general places to visit. This could be a National Park or a specific city or even a special festival or event. The key is to capture these destinations so that you can remember them when you are starting your planning process. But once you have identified the location you want to travel to, you can really start the planning.
Things to Do
Once we have a location nailed down, we will generally start searching for things to do in the area on Google, Yelp, Trip Advisor and in any guidebooks that we have purchased. This not only helps to determine that we have selected a good place to visit but also helps us start to get the lay of the land.
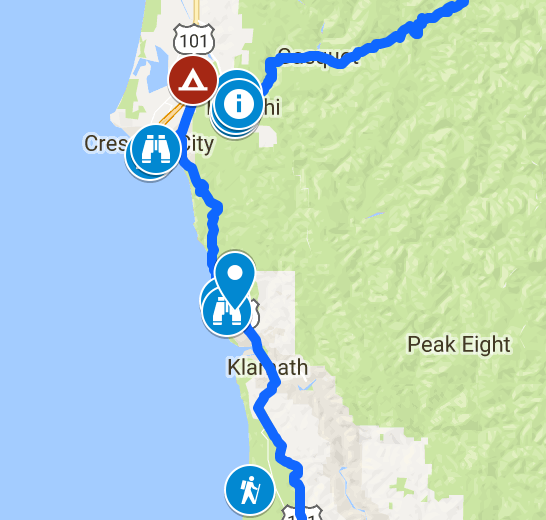
As we identify things that we would like to see, activities to do or places we would like to eat, we build a custom map using Google My Map. We place a marker on the custom map for each thing that we have identified. This is where we really start to see the areas that we will be spending our time in. Google allows you to use different icons and colors for the markers which help you further organize your finds. This might be a bit excessive, but I have found it really helps me have a clear picture of the area. In addition, if you plan to visit the area multiple times, you could continue to add markers and then change the color of the ones that you have done.
The Campground
Depending on the location that you are traveling to, the campground selection might be fairly straightforward as there might only be one. However, frequently there are options. Using the Things To Do Google Map that we previously created we can see how campgrounds in the area align with our activities. In our trip to Redwood National and State Parks, it was clear to us that staying near Crescent City was better as the majority of our activities were close to there as opposed to the south end near Trinidad.
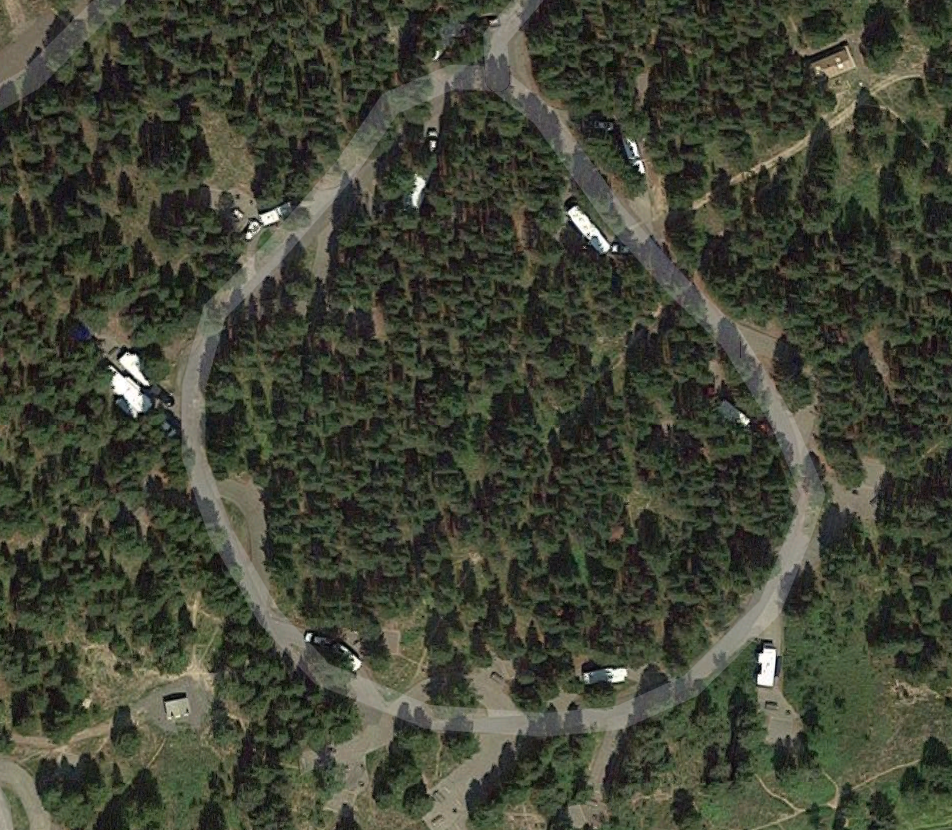
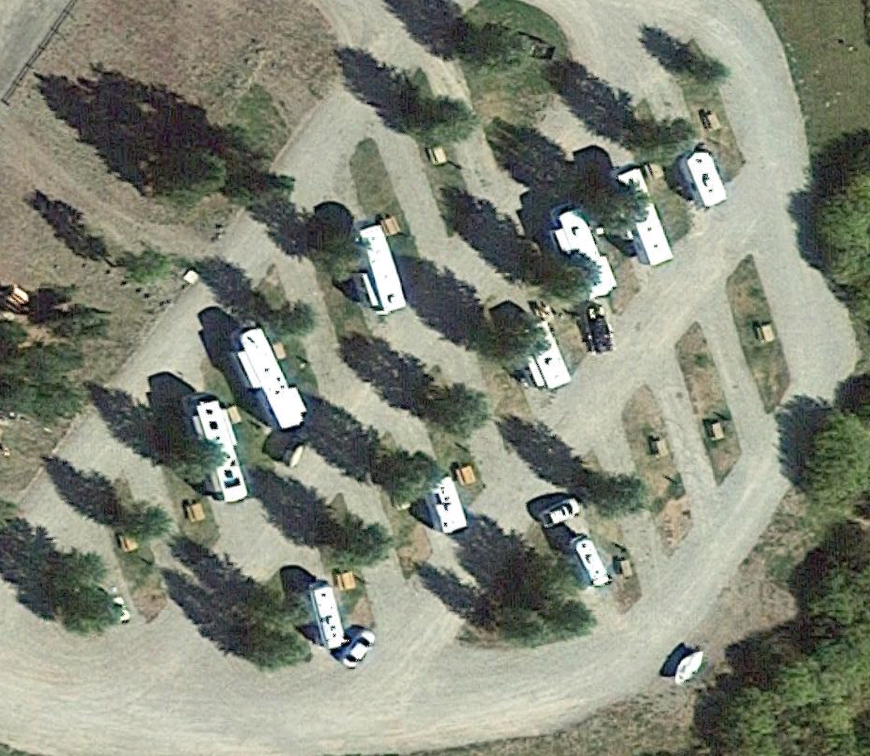
To help identify campgrounds, we like to use resources like Campendium, Good Sam Trip Planner, and Road Trippers. Just like with the things to do, we add markers to our map for each of the campgrounds that we are considering. To help further narrow it down we will read through reviews and check out pictures of the campground. One of my favorite things to do is to search for the campground on Google Maps and then flip over to satellite view. This can not only help you identify the campground that fits your needs but can also help you dial in
The Route
When planning the actual route you will take you to have to take into account several things. For example, if you are going on a longer adventure you need to think about how long you are comfortable driving each day. We generally target for no more than 350 miles each travel day. Generally, we will start with a tool like Google Maps, Good Sam Trip Planner or Road Trippers and put in our home as the start and the main destination we are heading to and let it plot a route. I suggest using multiple tools for this as they can route you different directions which might open up some options.
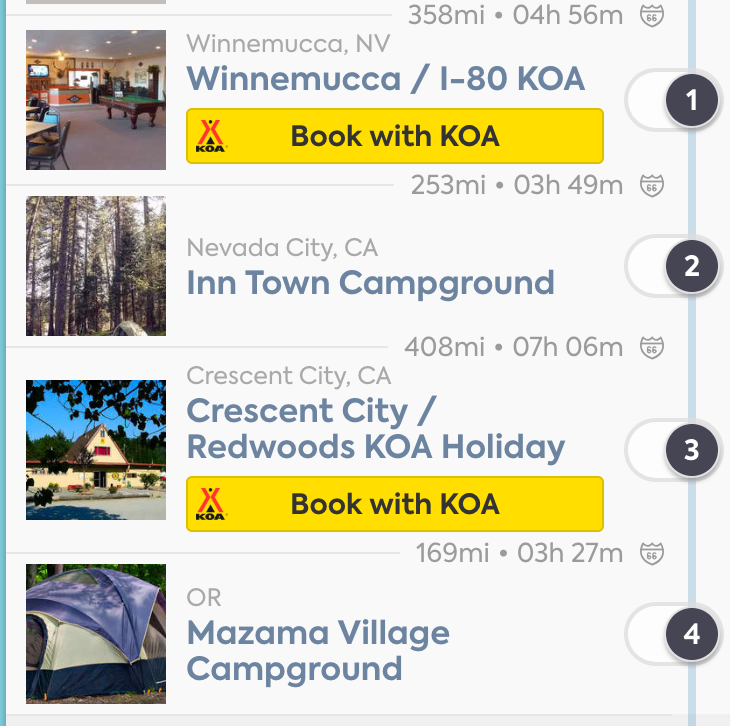
Road Trippers 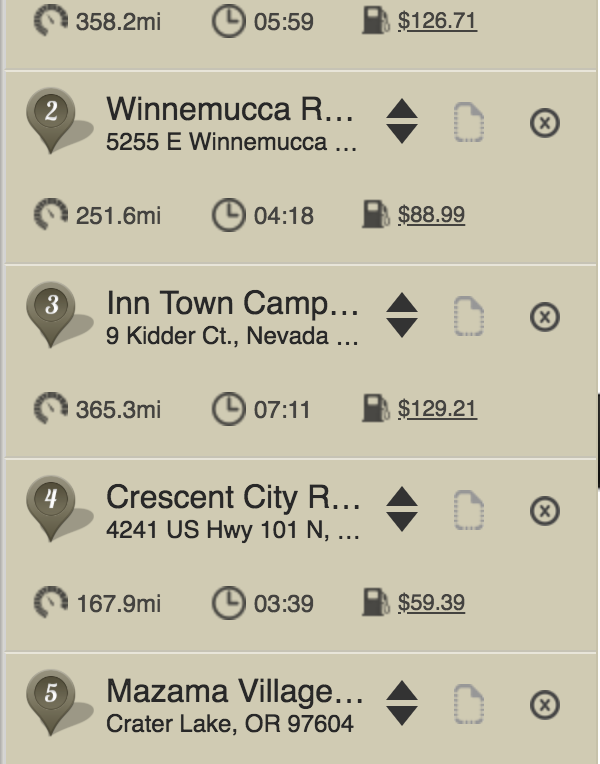
Good Sam Trip Planner
If you are going to a spot that you can hit in one day’s drive you are basically done. We will generally just use Google Maps for those type of adventures. If however, we are having to hop a bit, we start to divide the route up into 350ish mile sections. This can be a bit difficult to determine exactly where the division point is, but we like to start about half way and see where that gets us. This is where Road Trippers or the Good Sam Trip Planner start to shine as they can show you campgrounds along your route. You can easily add them into your trip and see the mileage for each hop. Play a bit with the various hops and the overall route to find what works best for you. During the planning of our Redwoods trip, we were really struggling to make the timing work. In the end, we found that simply flipping the route to a clockwise loop solved most of the issues.
Circle Back
Now that you have your ultimate destination and route figured out you should spend some time to circle back and look at things along the route. Spend some time searching for things to do and places to eat and add those markers to your Google map. We have some very fond memories
Navigation
With your final route and things to do all in a single Google My Map, you can pull it up directly on your phone. Just open Google Maps, Click on the three lines near the top of the screen, tap Your Places, click on Maps and then click on the map that you created. This is very handy for navigation and can help you remember those things that you had planned on checking out.
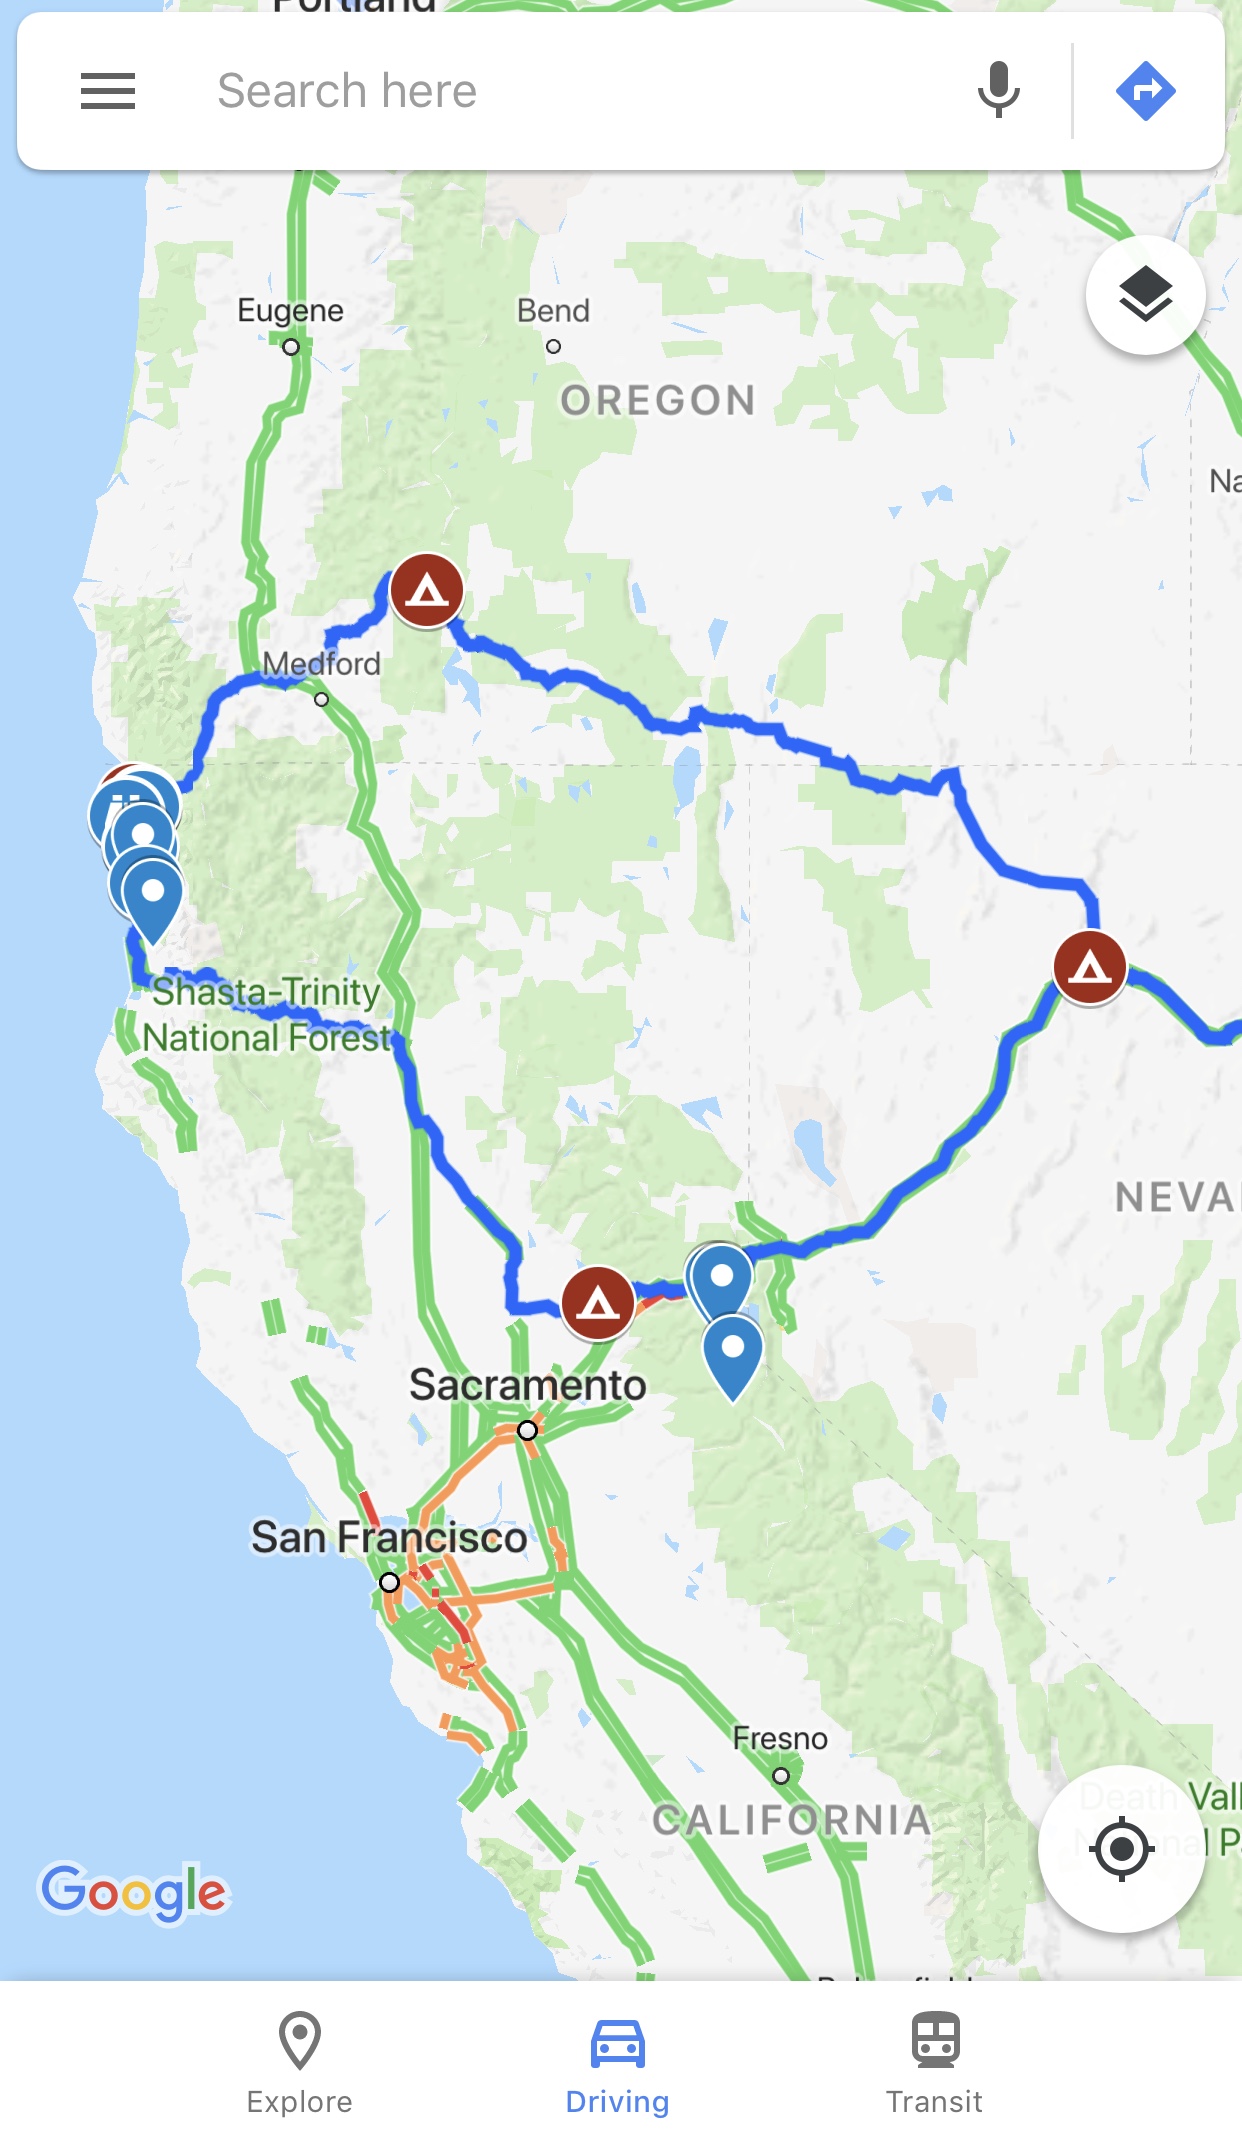
My Map on iPhone 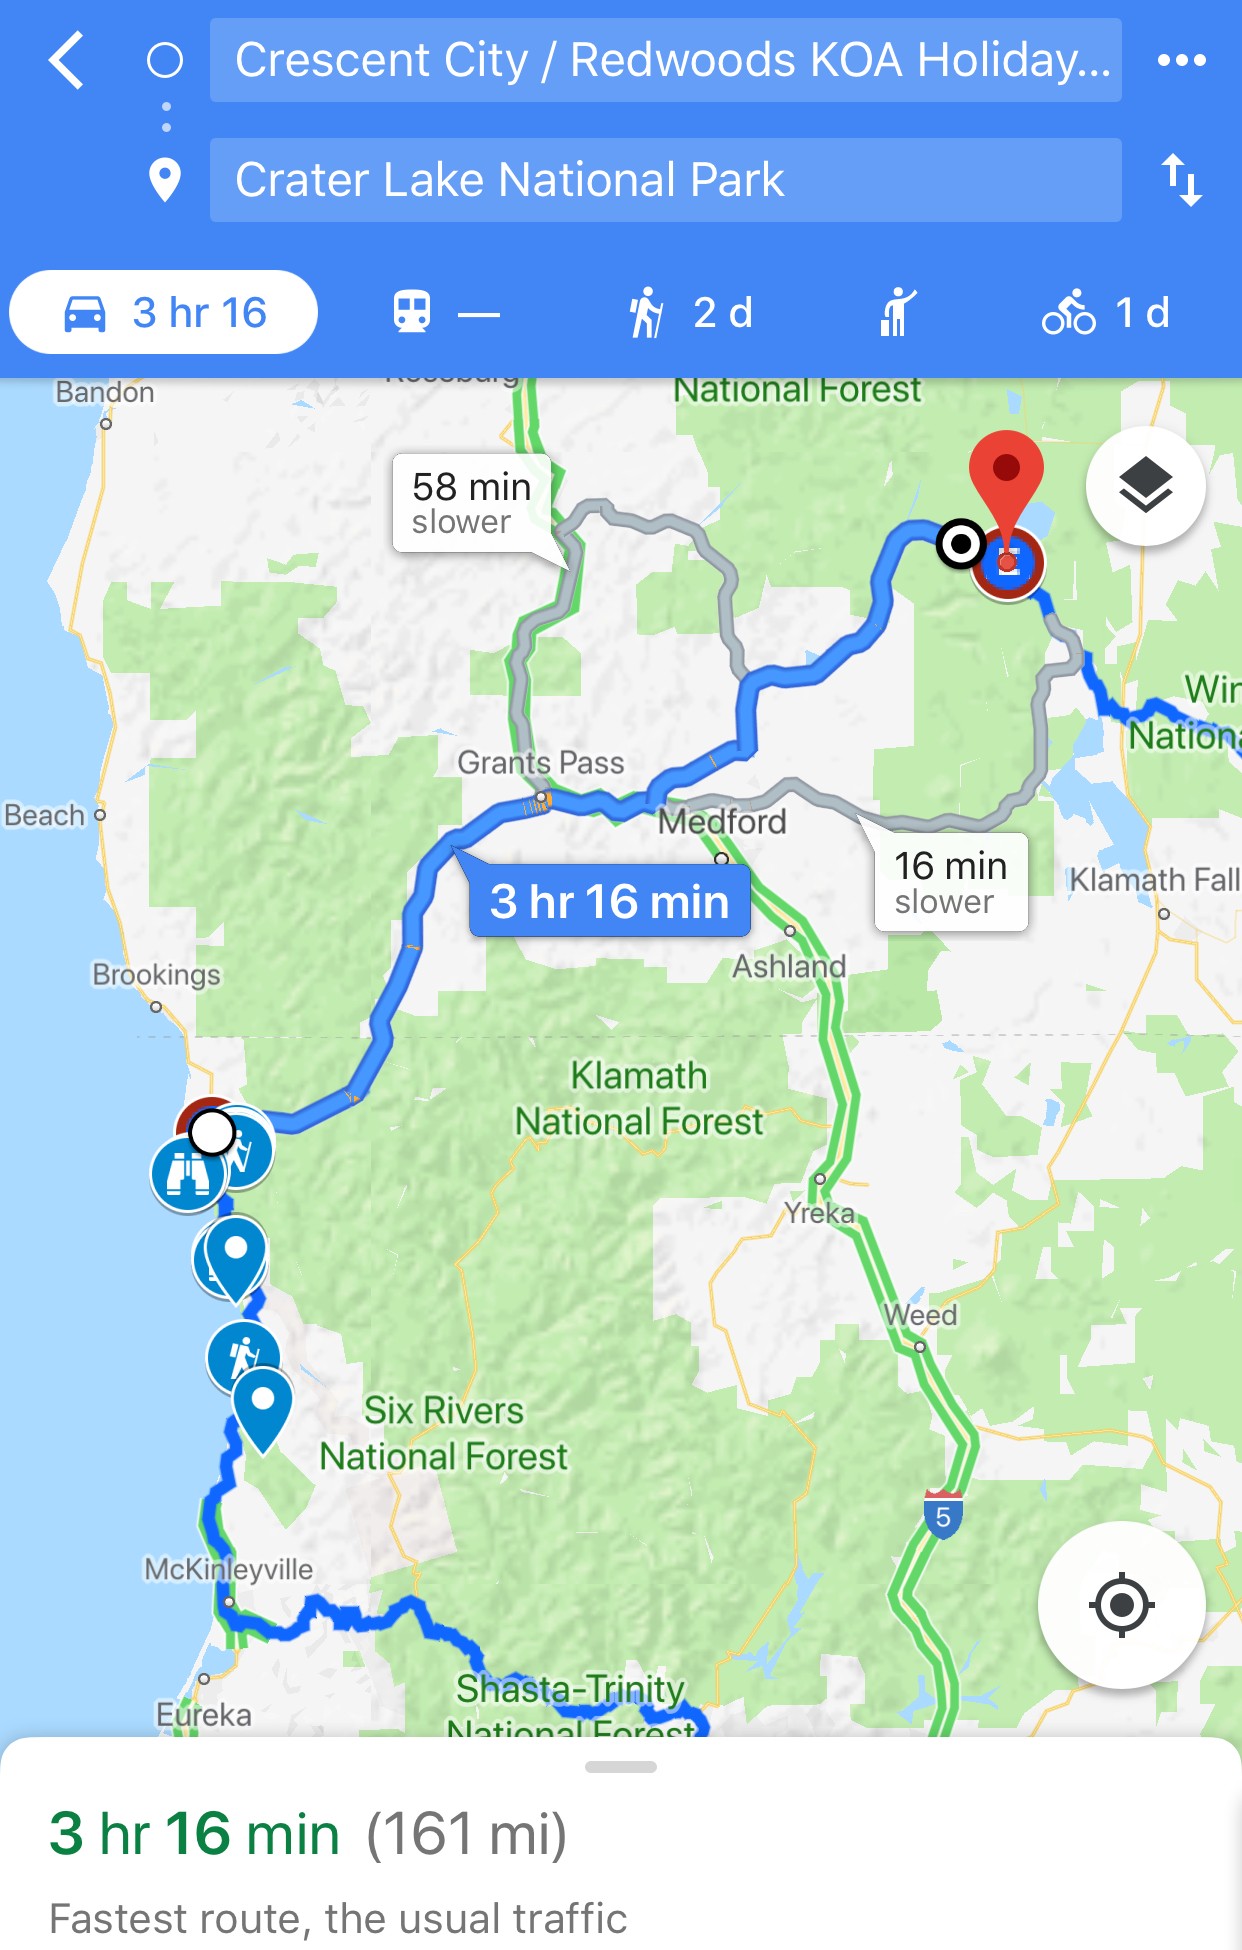
Navigation with My Map
Finally, if you are going to be out of cell coverage, you may want to save an offline version of the map by selecting Offline maps under the same three line menu you used before and then selecting
