How to Winterize a Winnebago Minnie Plus
Back in 2016, we wrote a post on winterizing our Keystone Hideout. Being one of the most popular posts on our blog, we figured it would be good to create the same type of post for our Winnebago Minnie Plus 27BHSS. While the process is virtually the same, the location of the components is a bit different.
We always start off our winterization process by going to the local dump station. We follow our normal process for dumping our tanks, except we don’t add extra water at the end to the black tank. We do however really try and rinse the tanks out the best that we can.
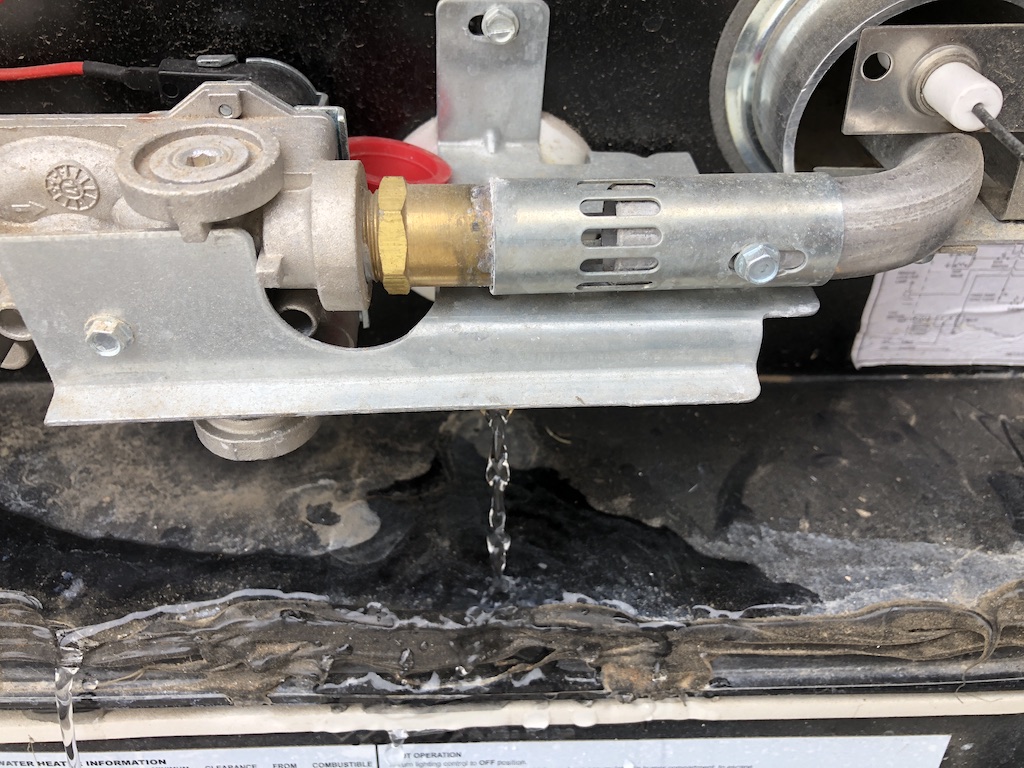
Once we are back home, we start off by draining the water heater. Before we drain the water heater we always make sure that the water has had time to cool off and that we have released the pressure before removing the plug. In our specific case, we have removed the plug and replaced it with a drain line that we can just open up. You can find out more details about this mod in the posting DIY Water Heater Drain.
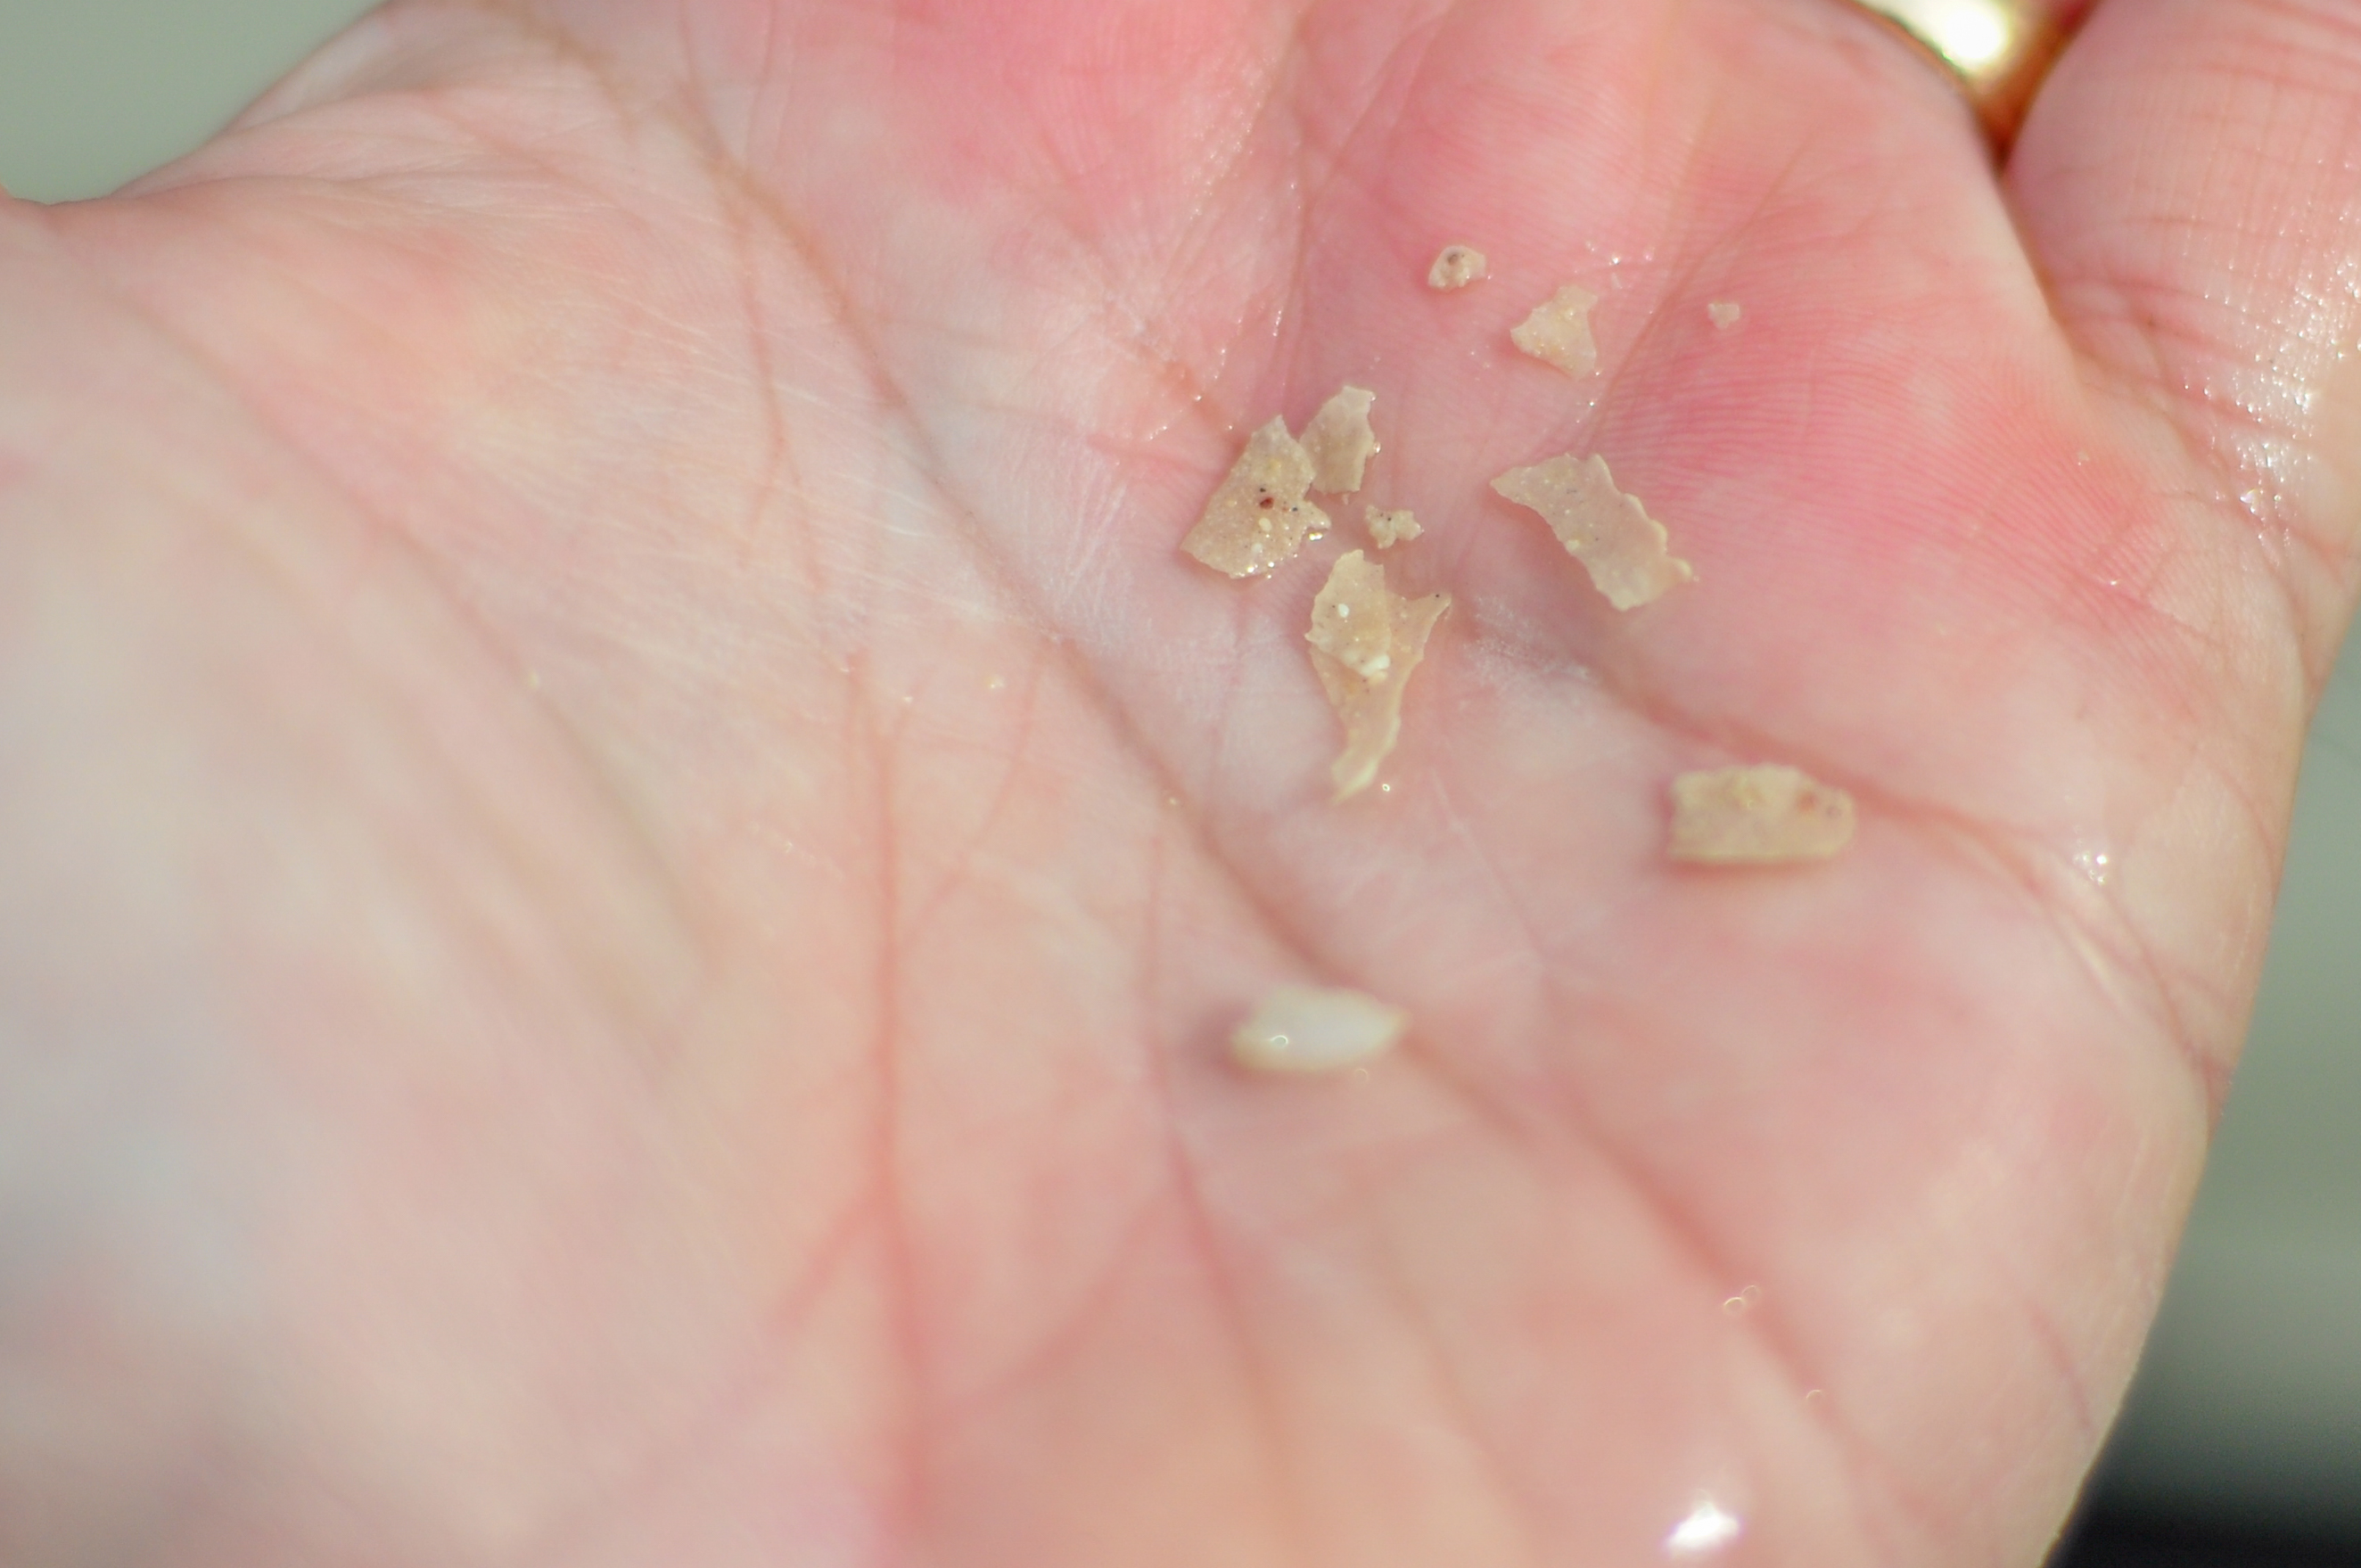
With the water heater drained, we remove our DIY drain hose and start to flush the water heater using a Camco 11691 Water Heater Tank Rinser attachment on our garden hose. This helps remove some of the deposits that have built up inside the tank. It is amazing the amount of debris that you will find from just a single season of camping.
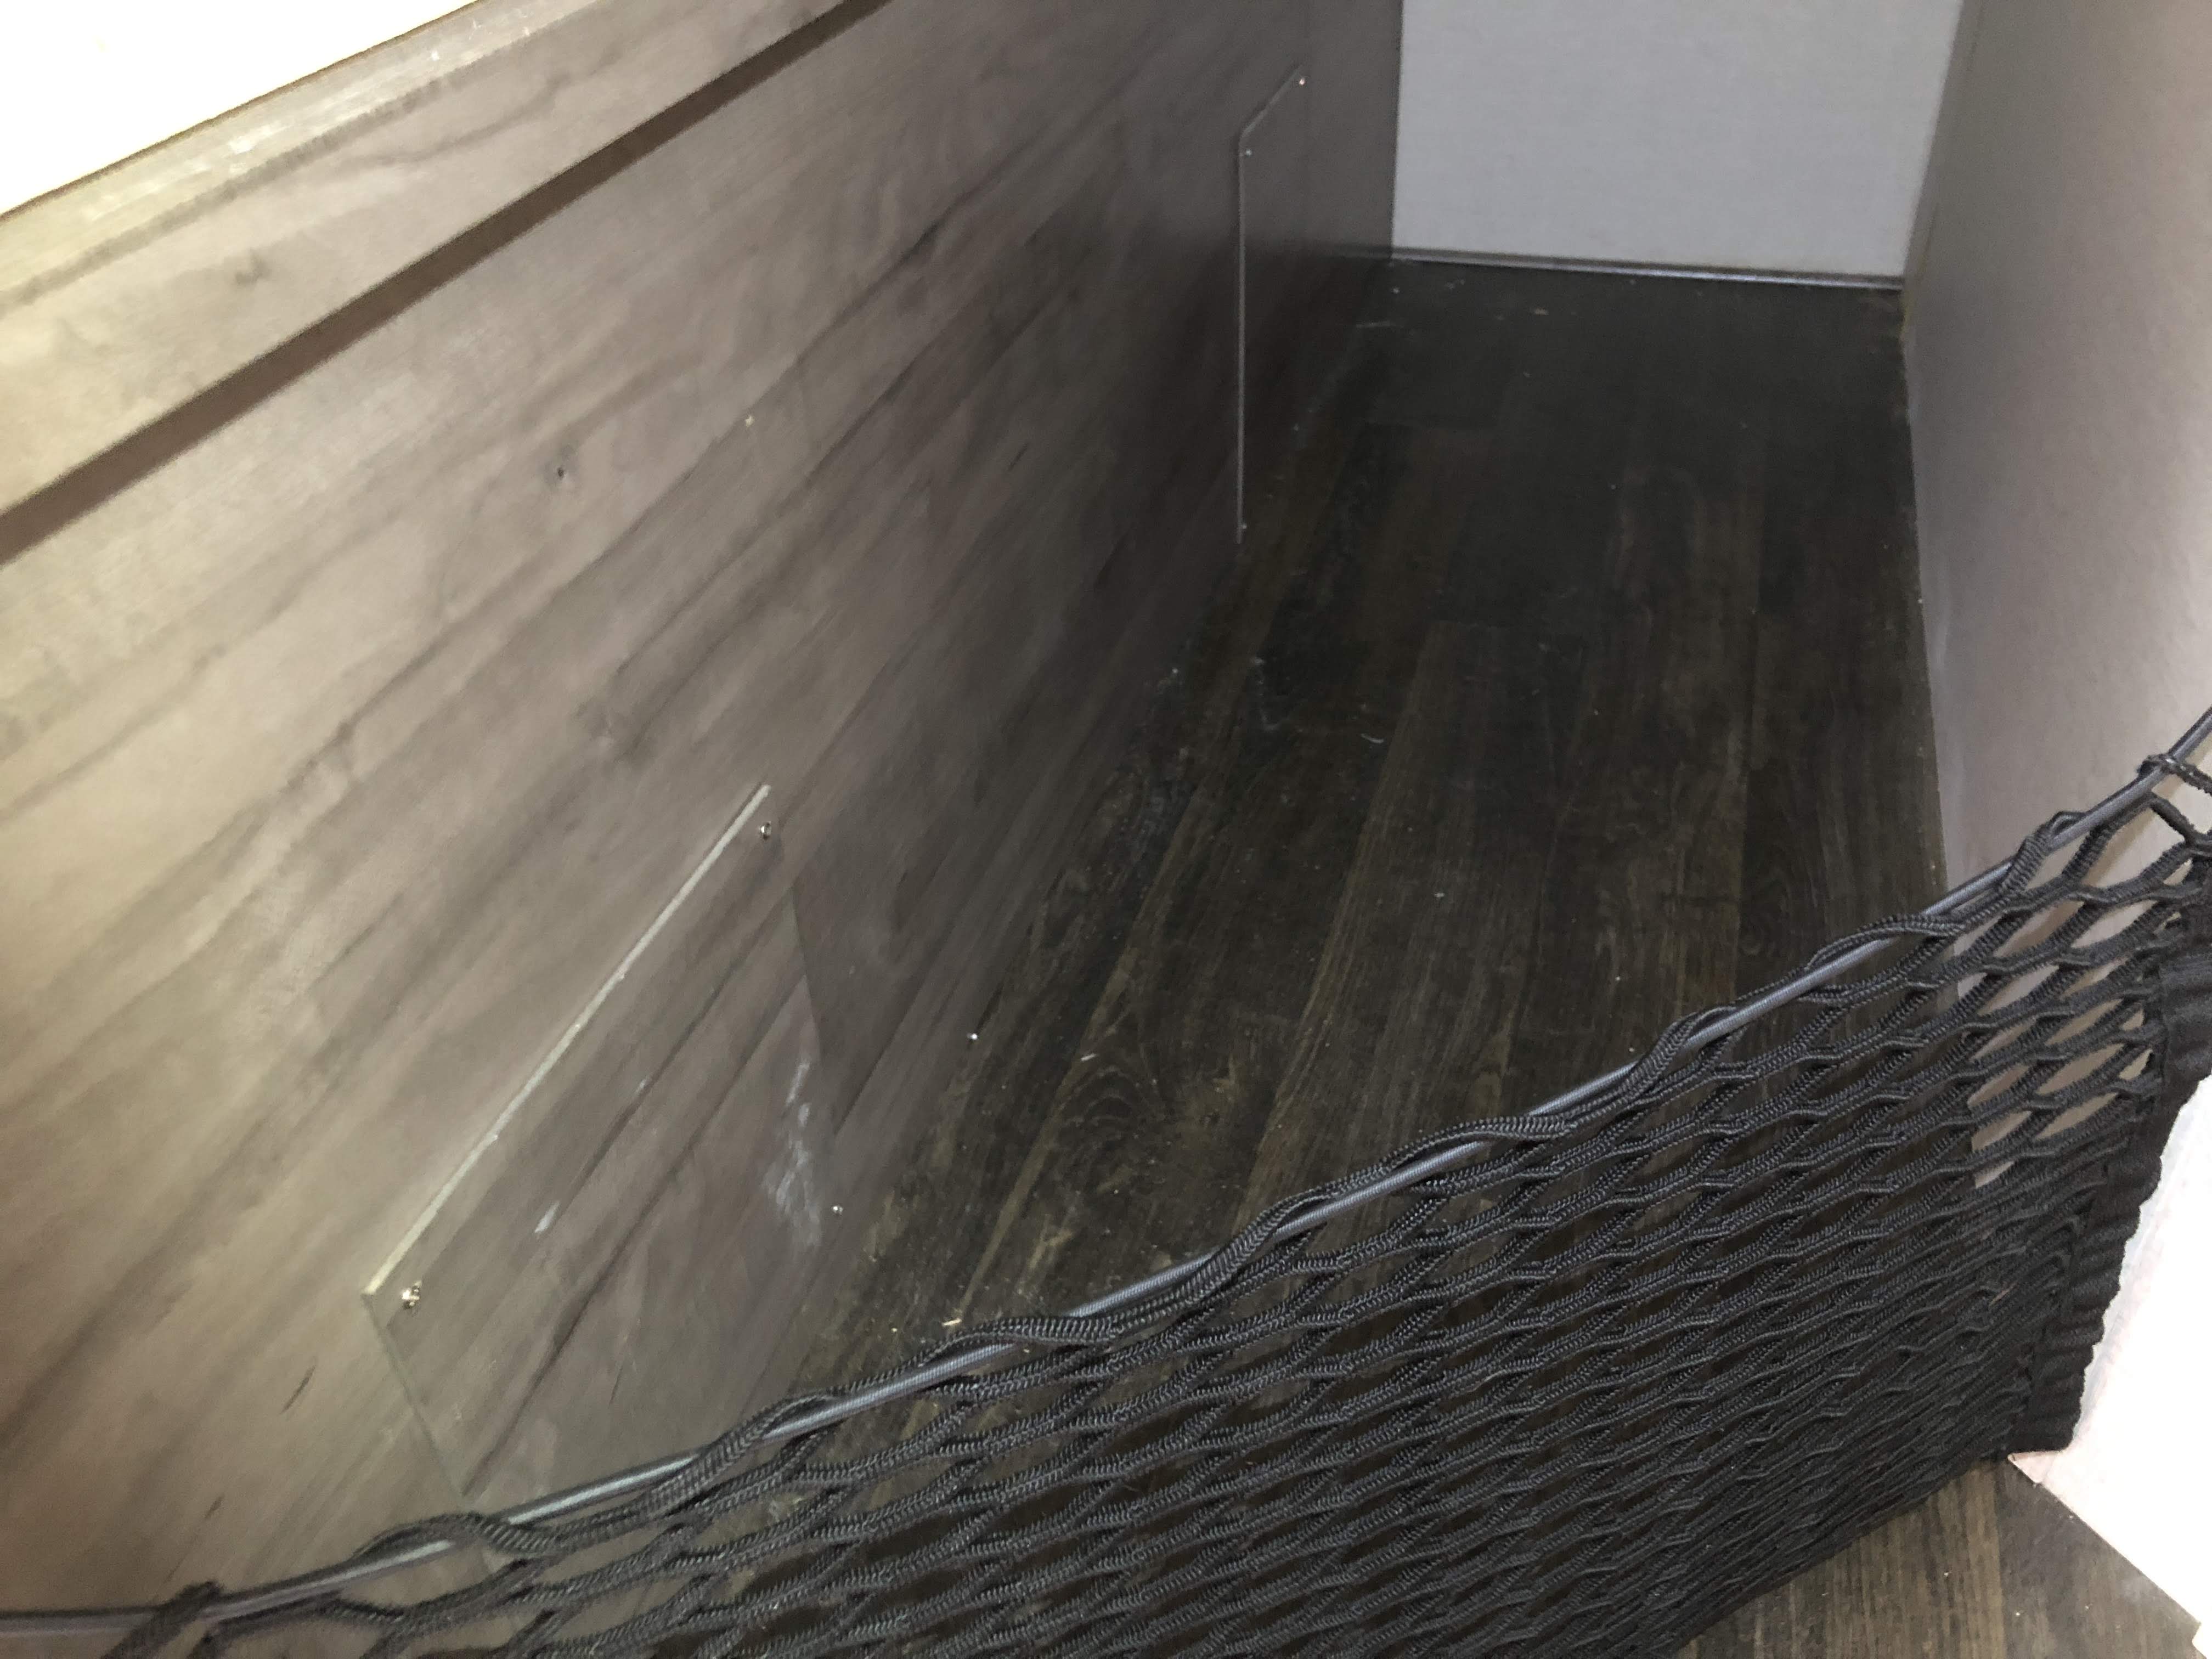
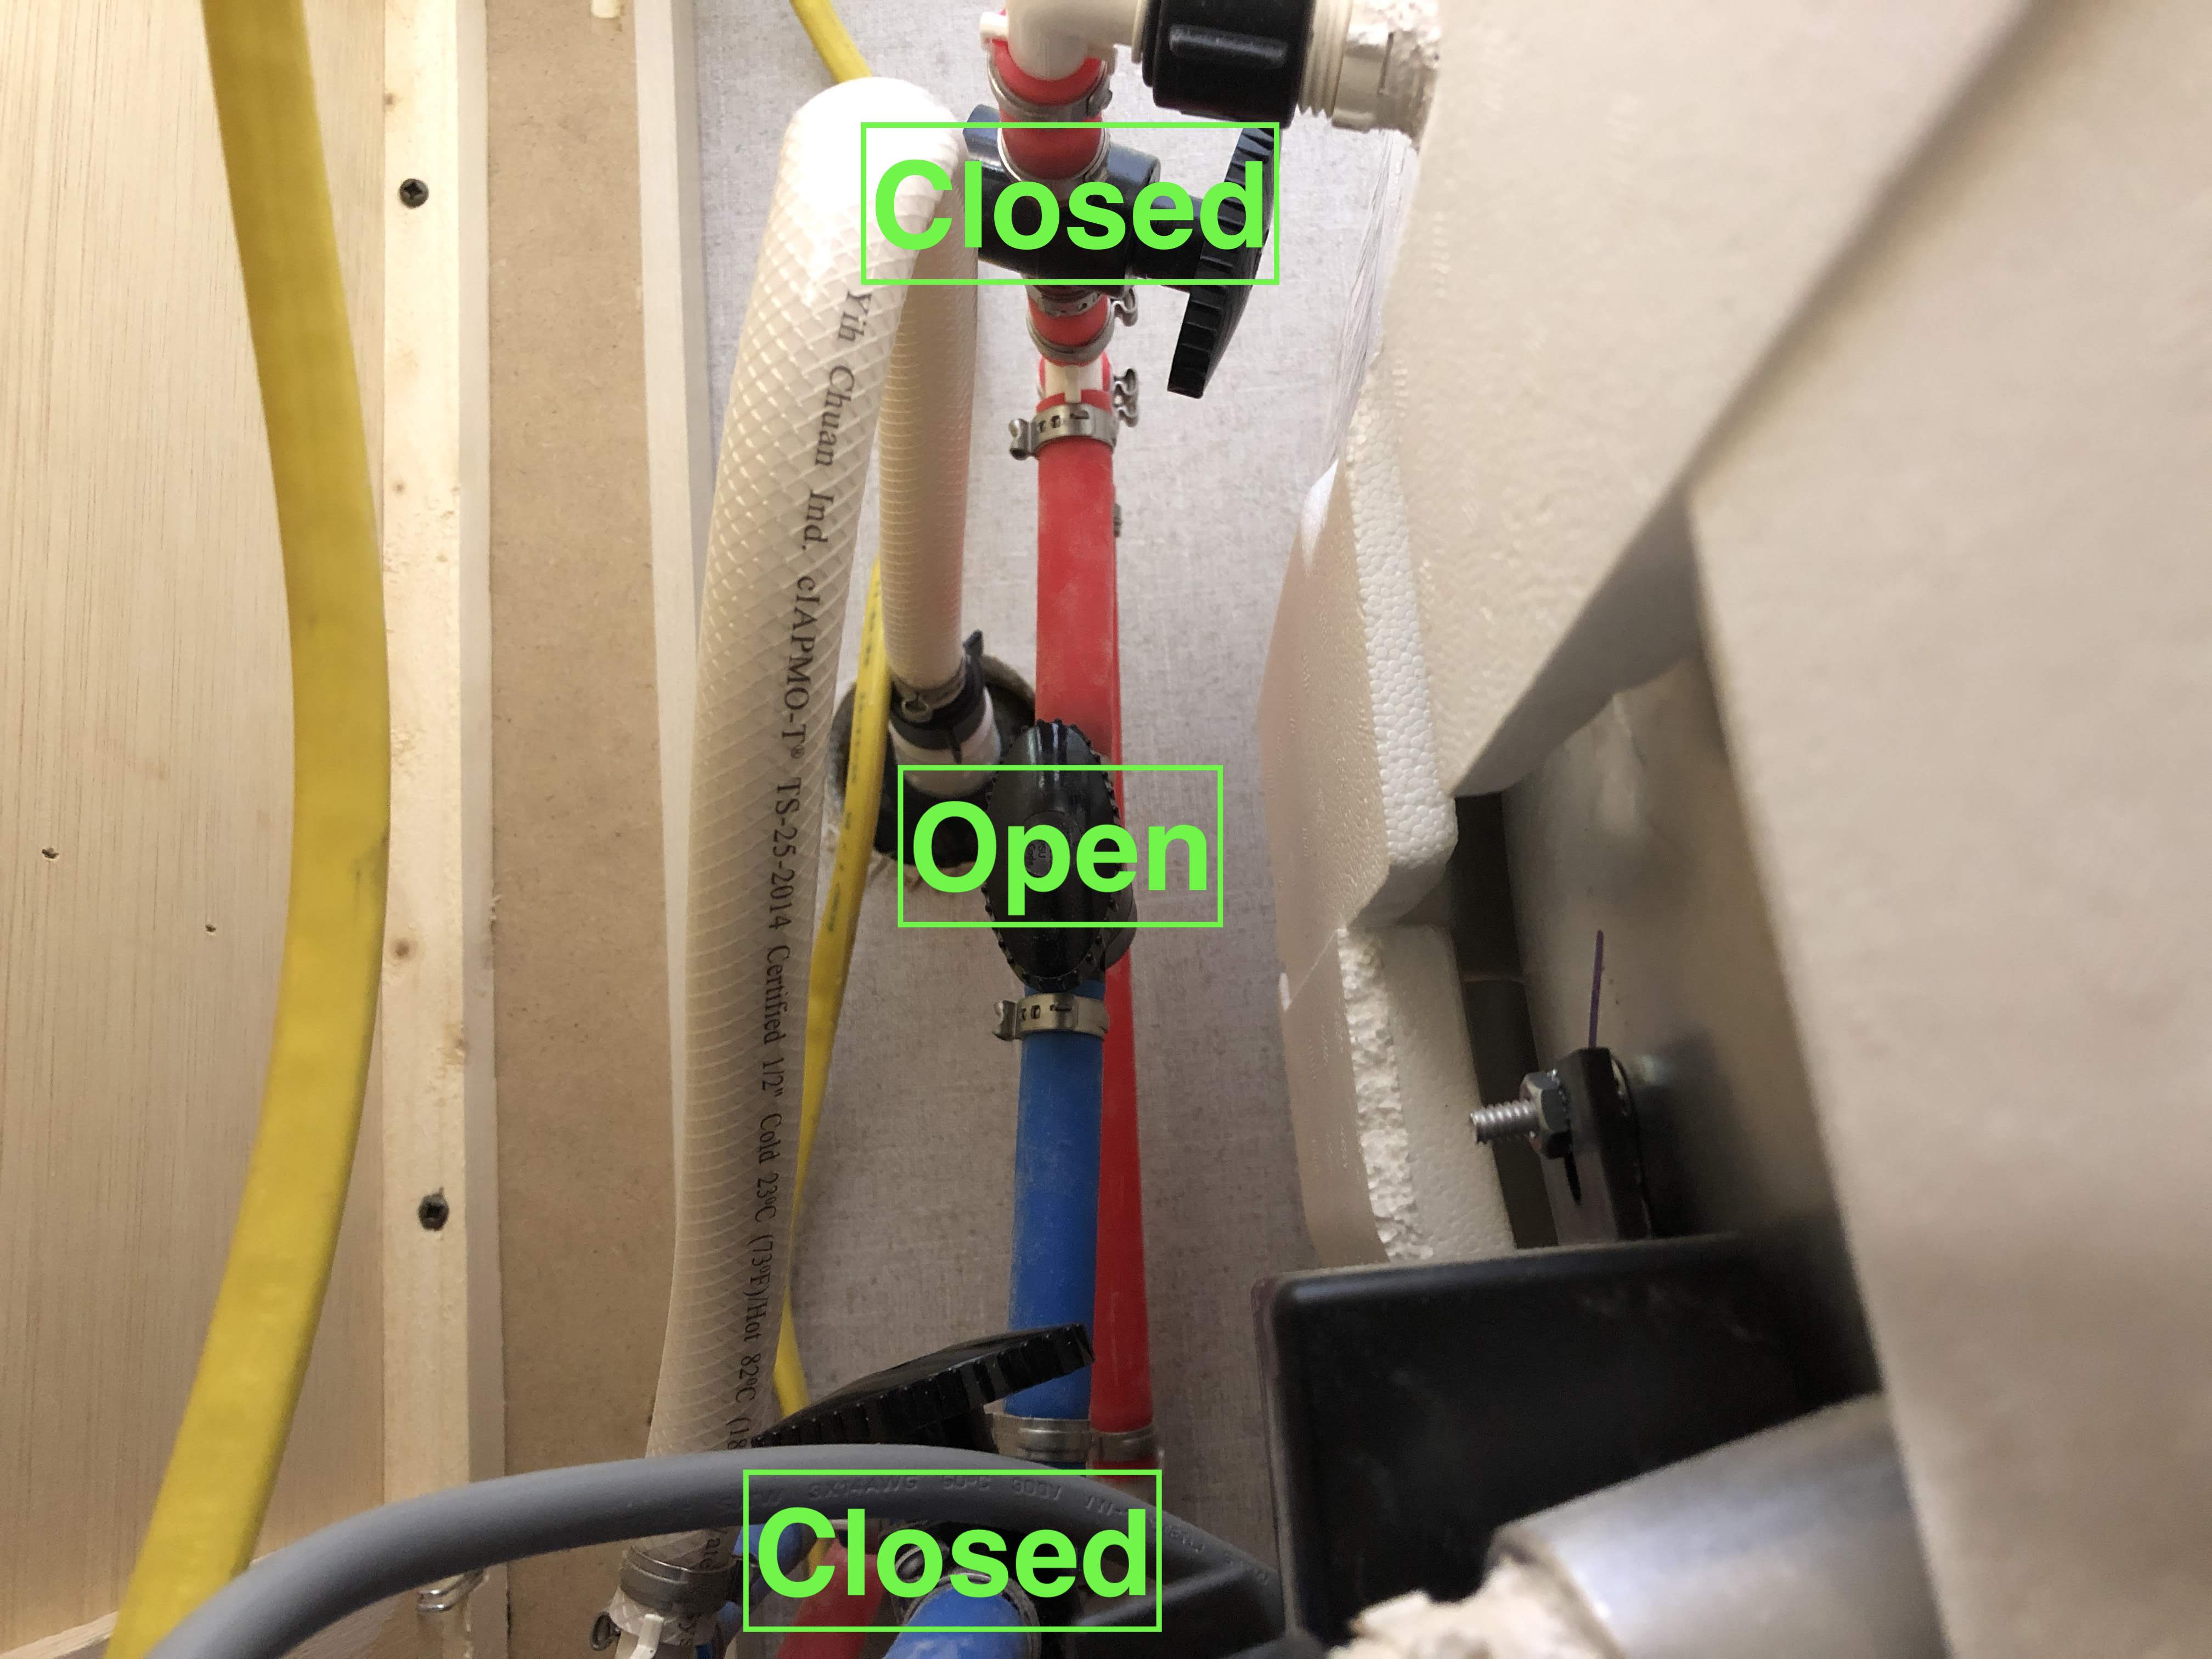
With the holding tanks and the water emptied we can now move on to bypassing the water heater in preparation for antifreeze. Under the bunks in the rear of the rig, there are two access panels The first one provides access to the back of the fridge in the outdoor kitchen. The one in the back provides access to the back of the water heater. There are three valves on the pipes connected to the water heater and we flip all three of them. We start by turning the red line and blue line valves so that they are perpendicular to the pipe and then we turn the one that is between the red and blue line so that it is parallel. This joins the hot and cold water systems and fully bypasses the water heater, preventing any water from going in and most importantly keeping antifreeze out.
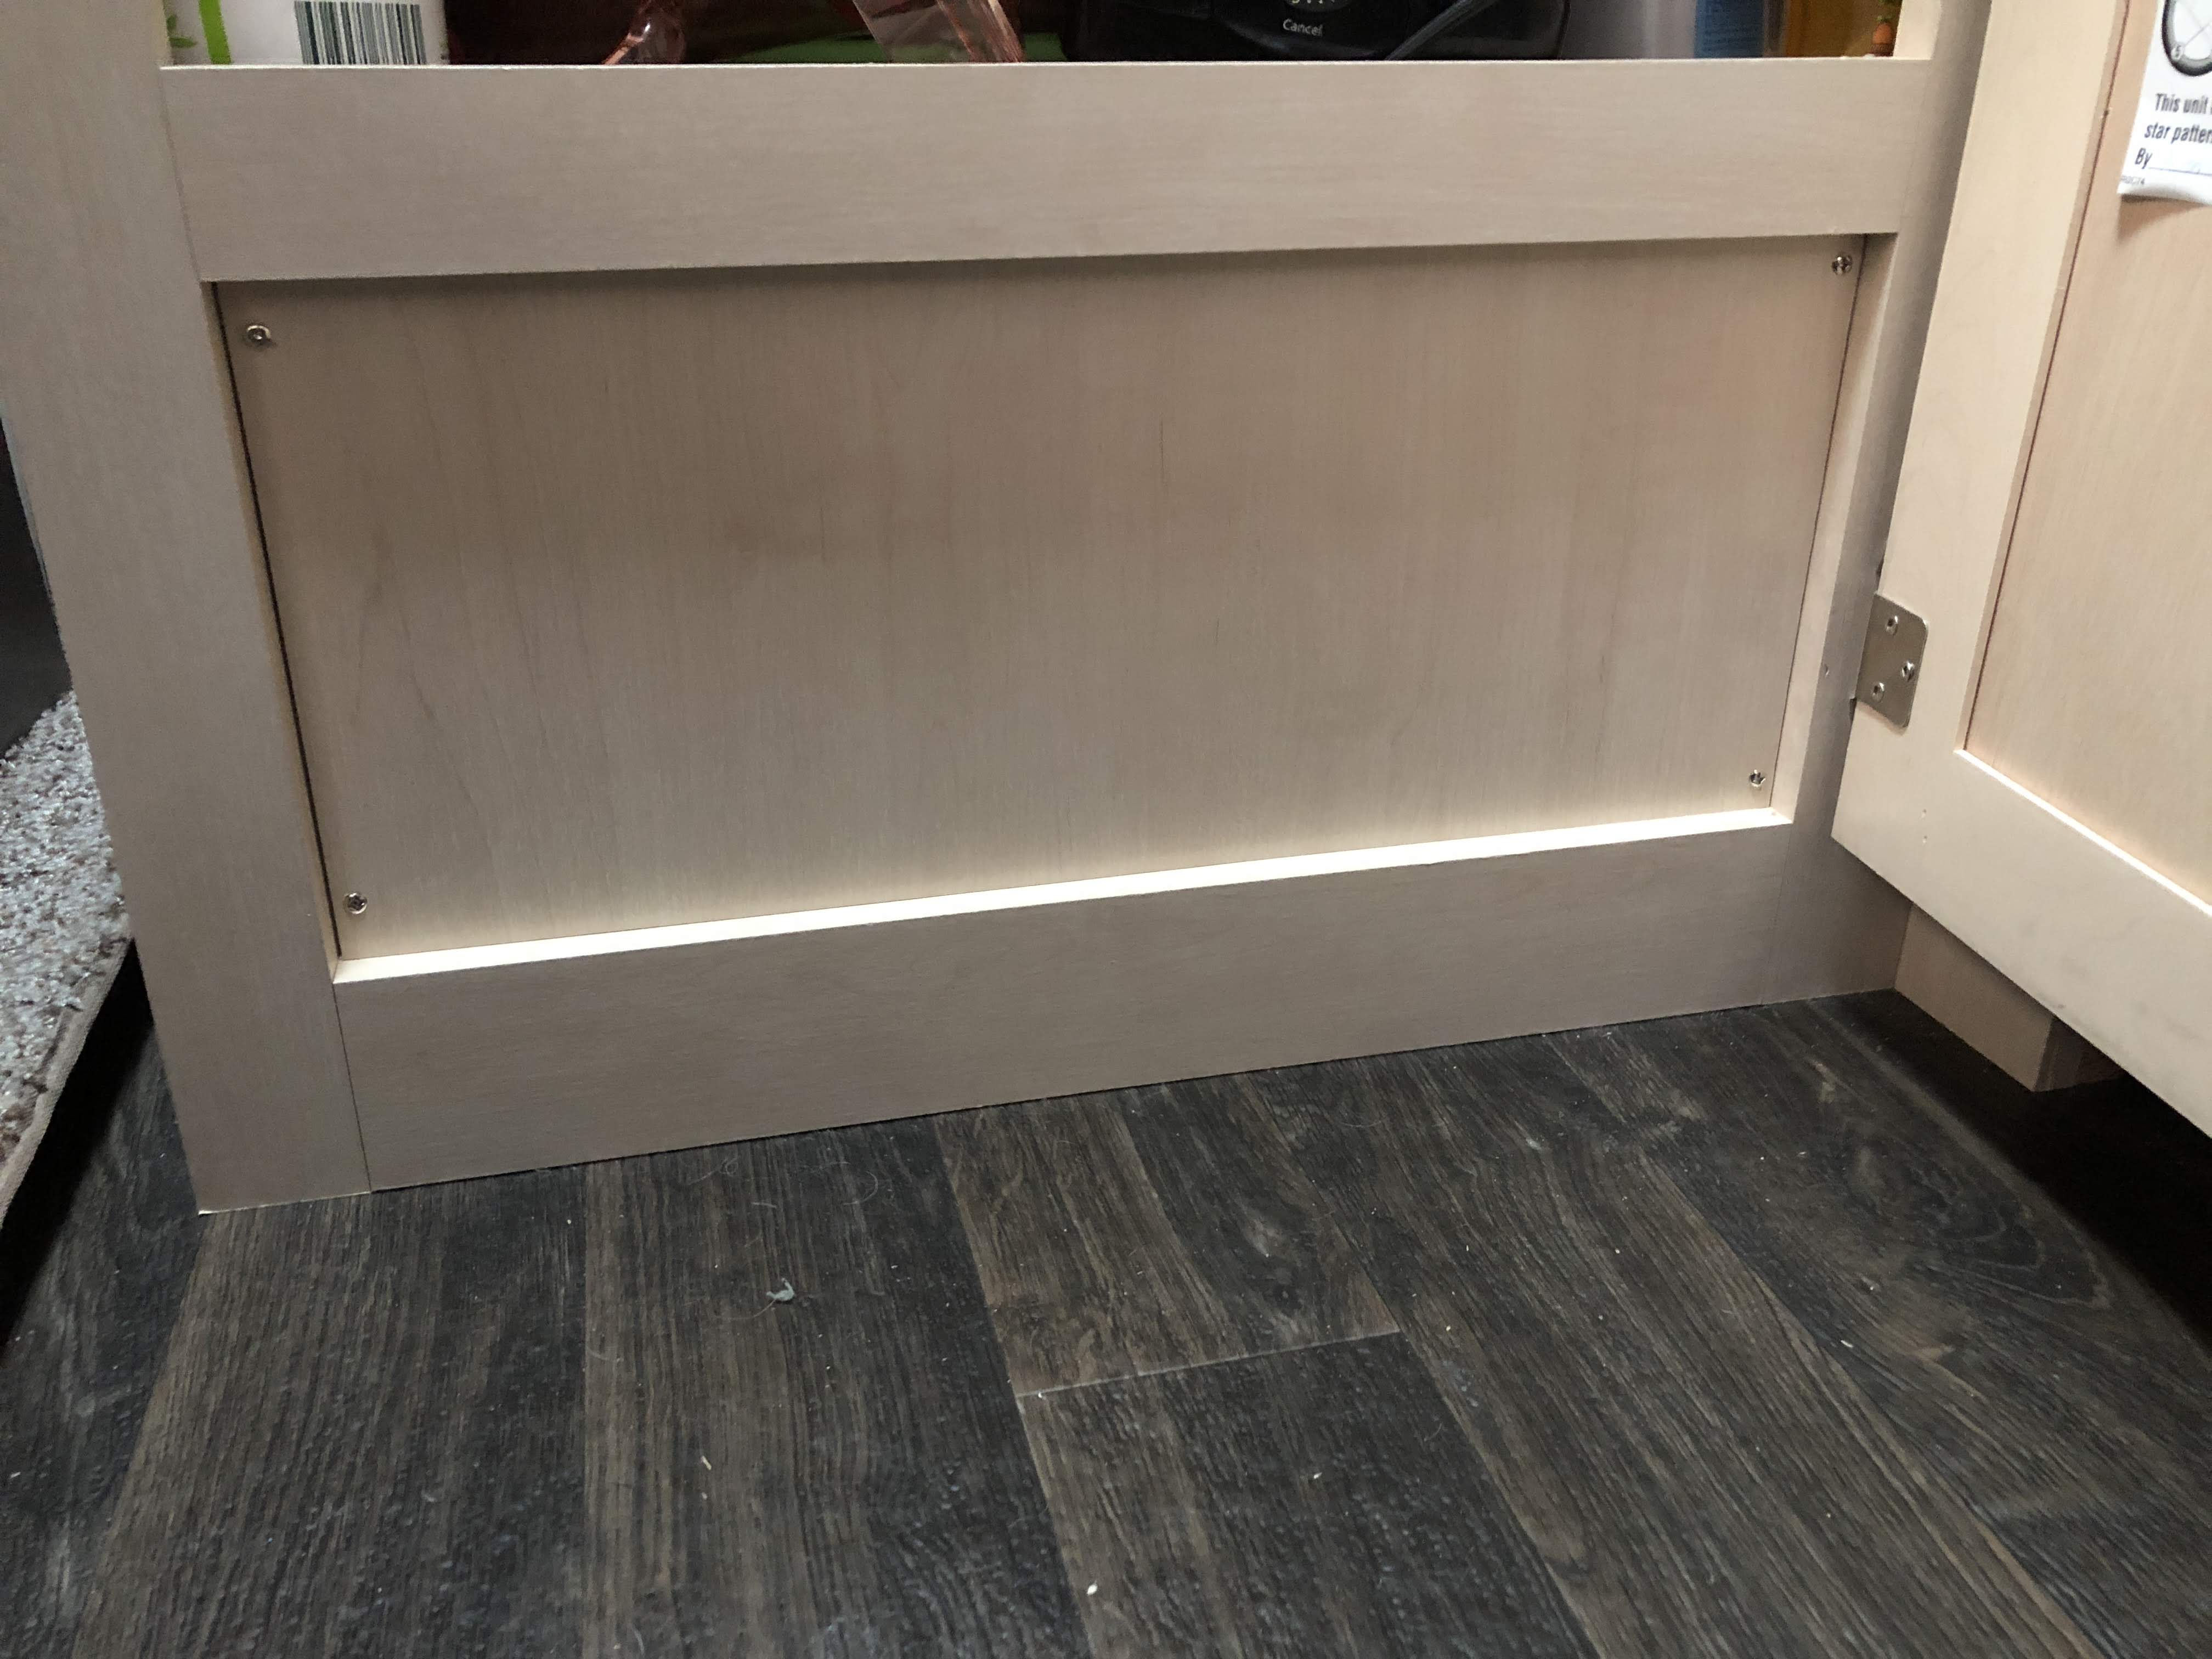
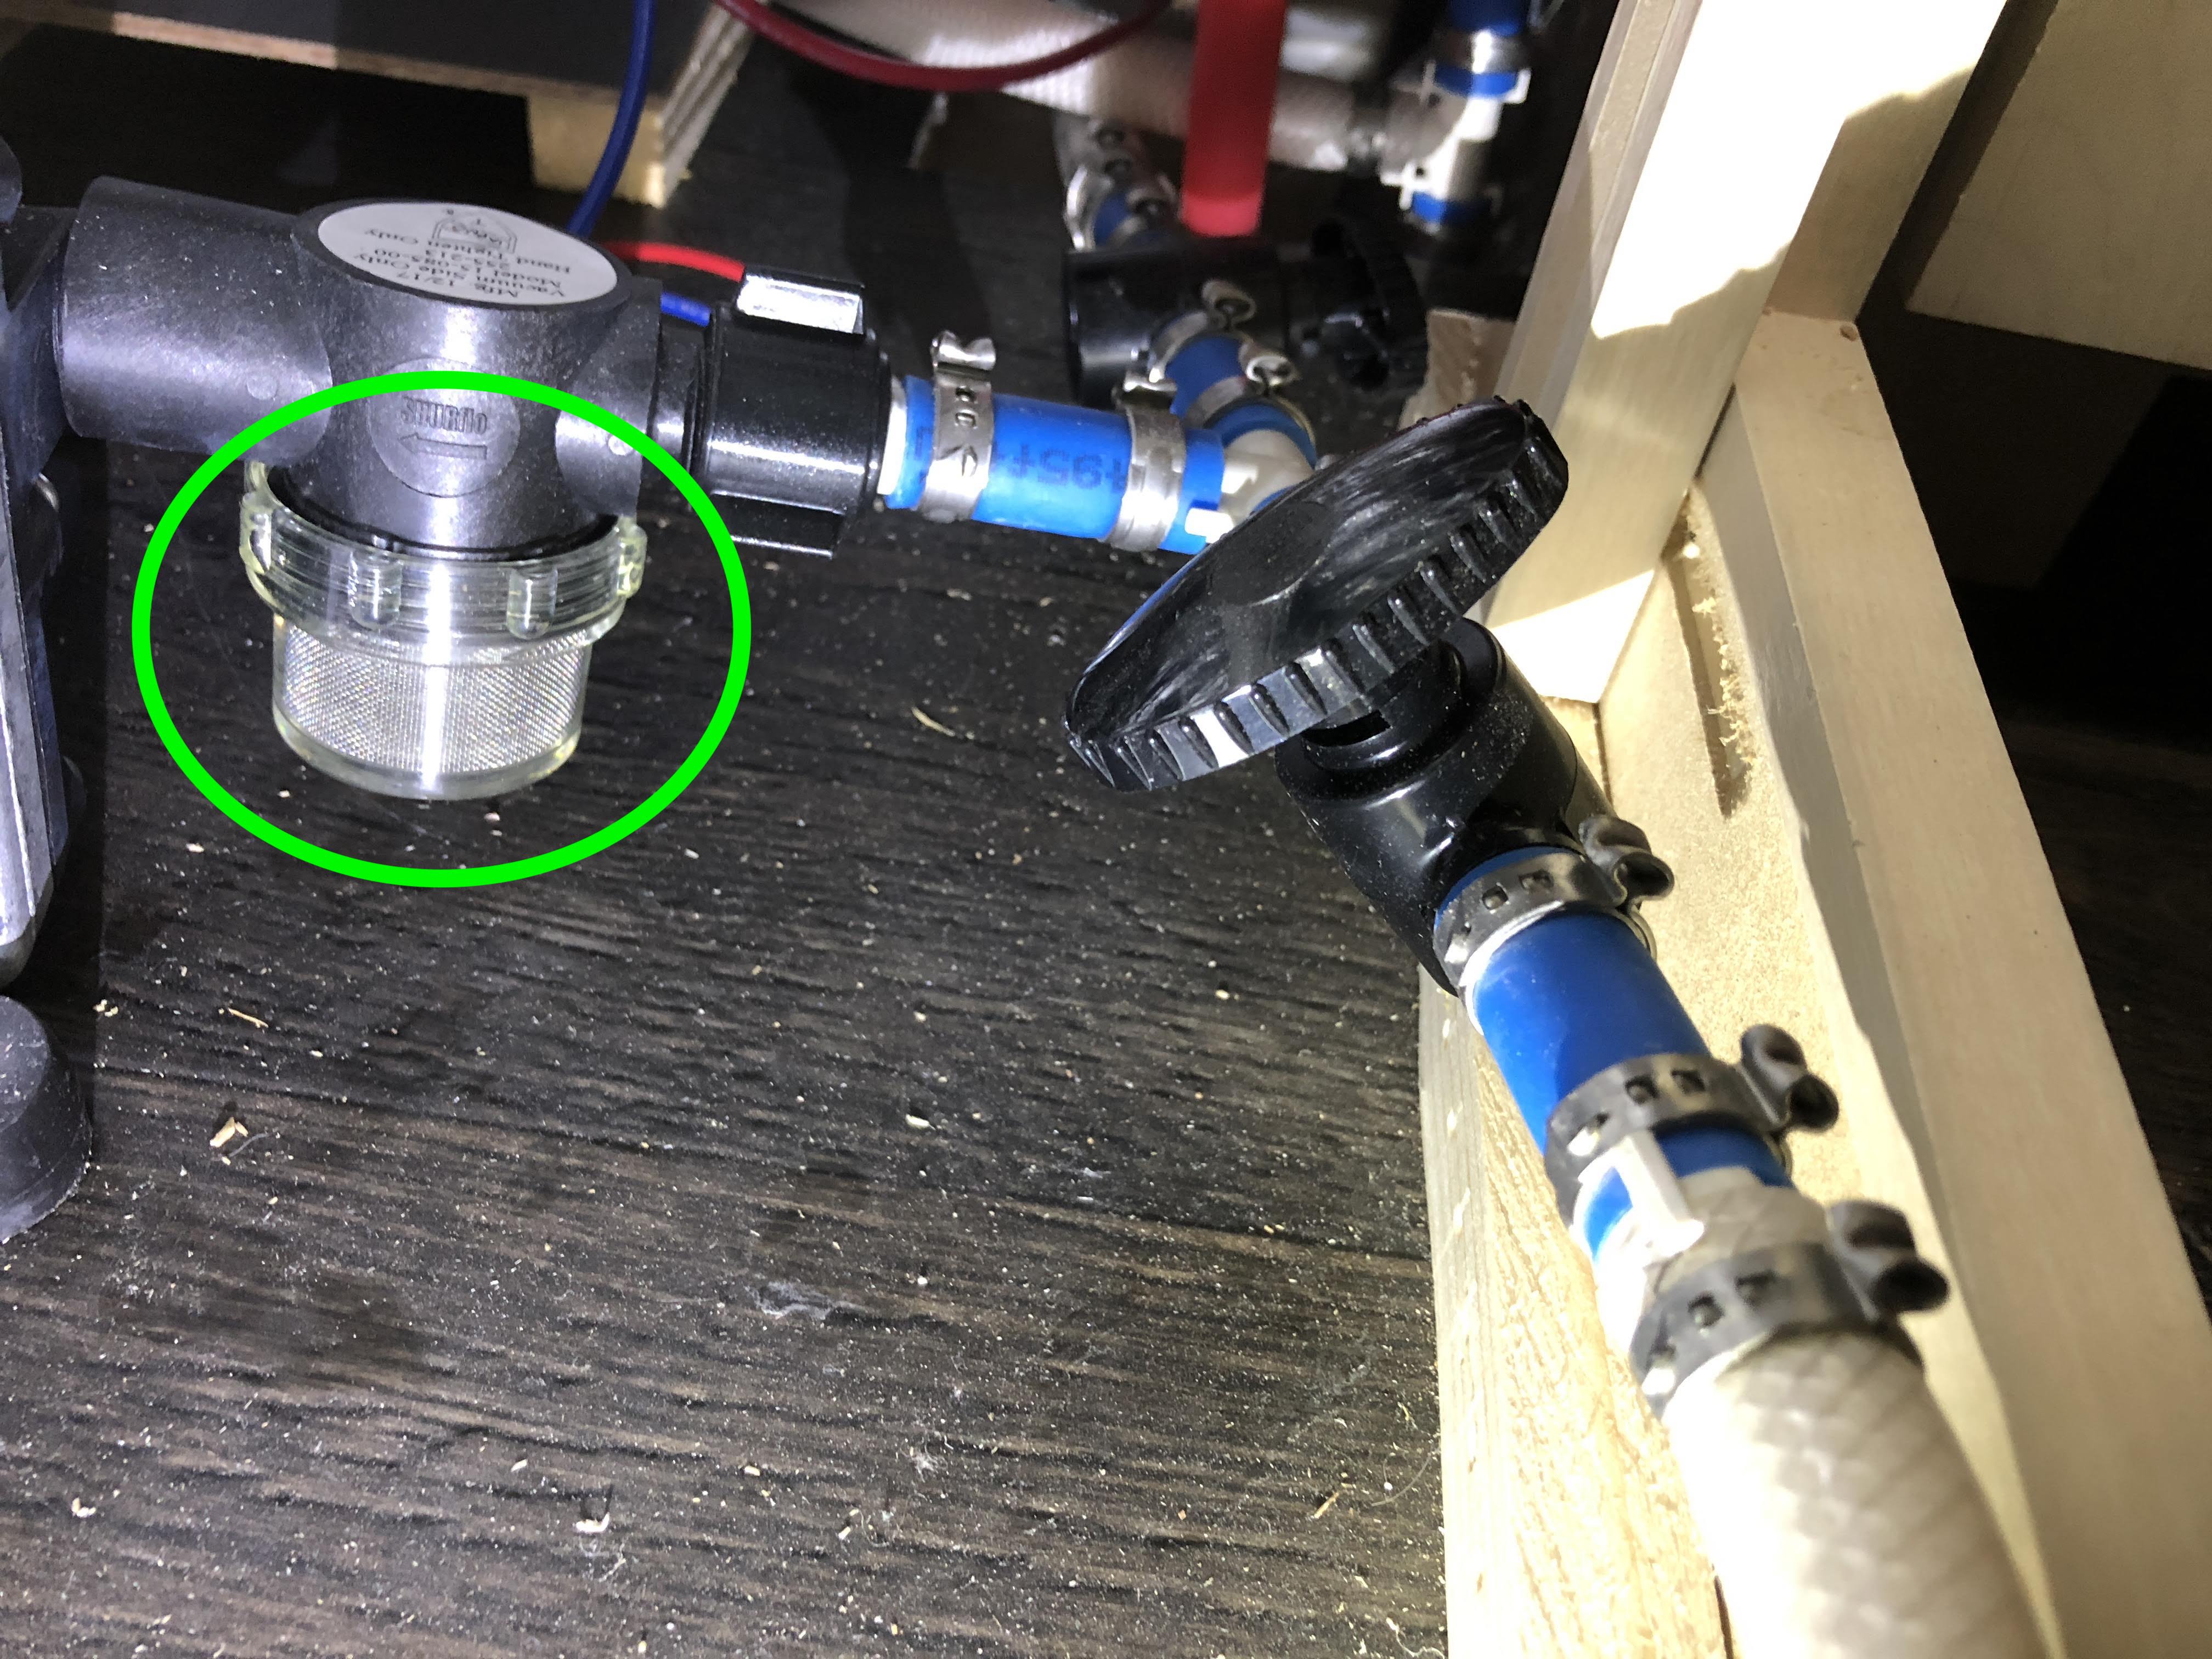
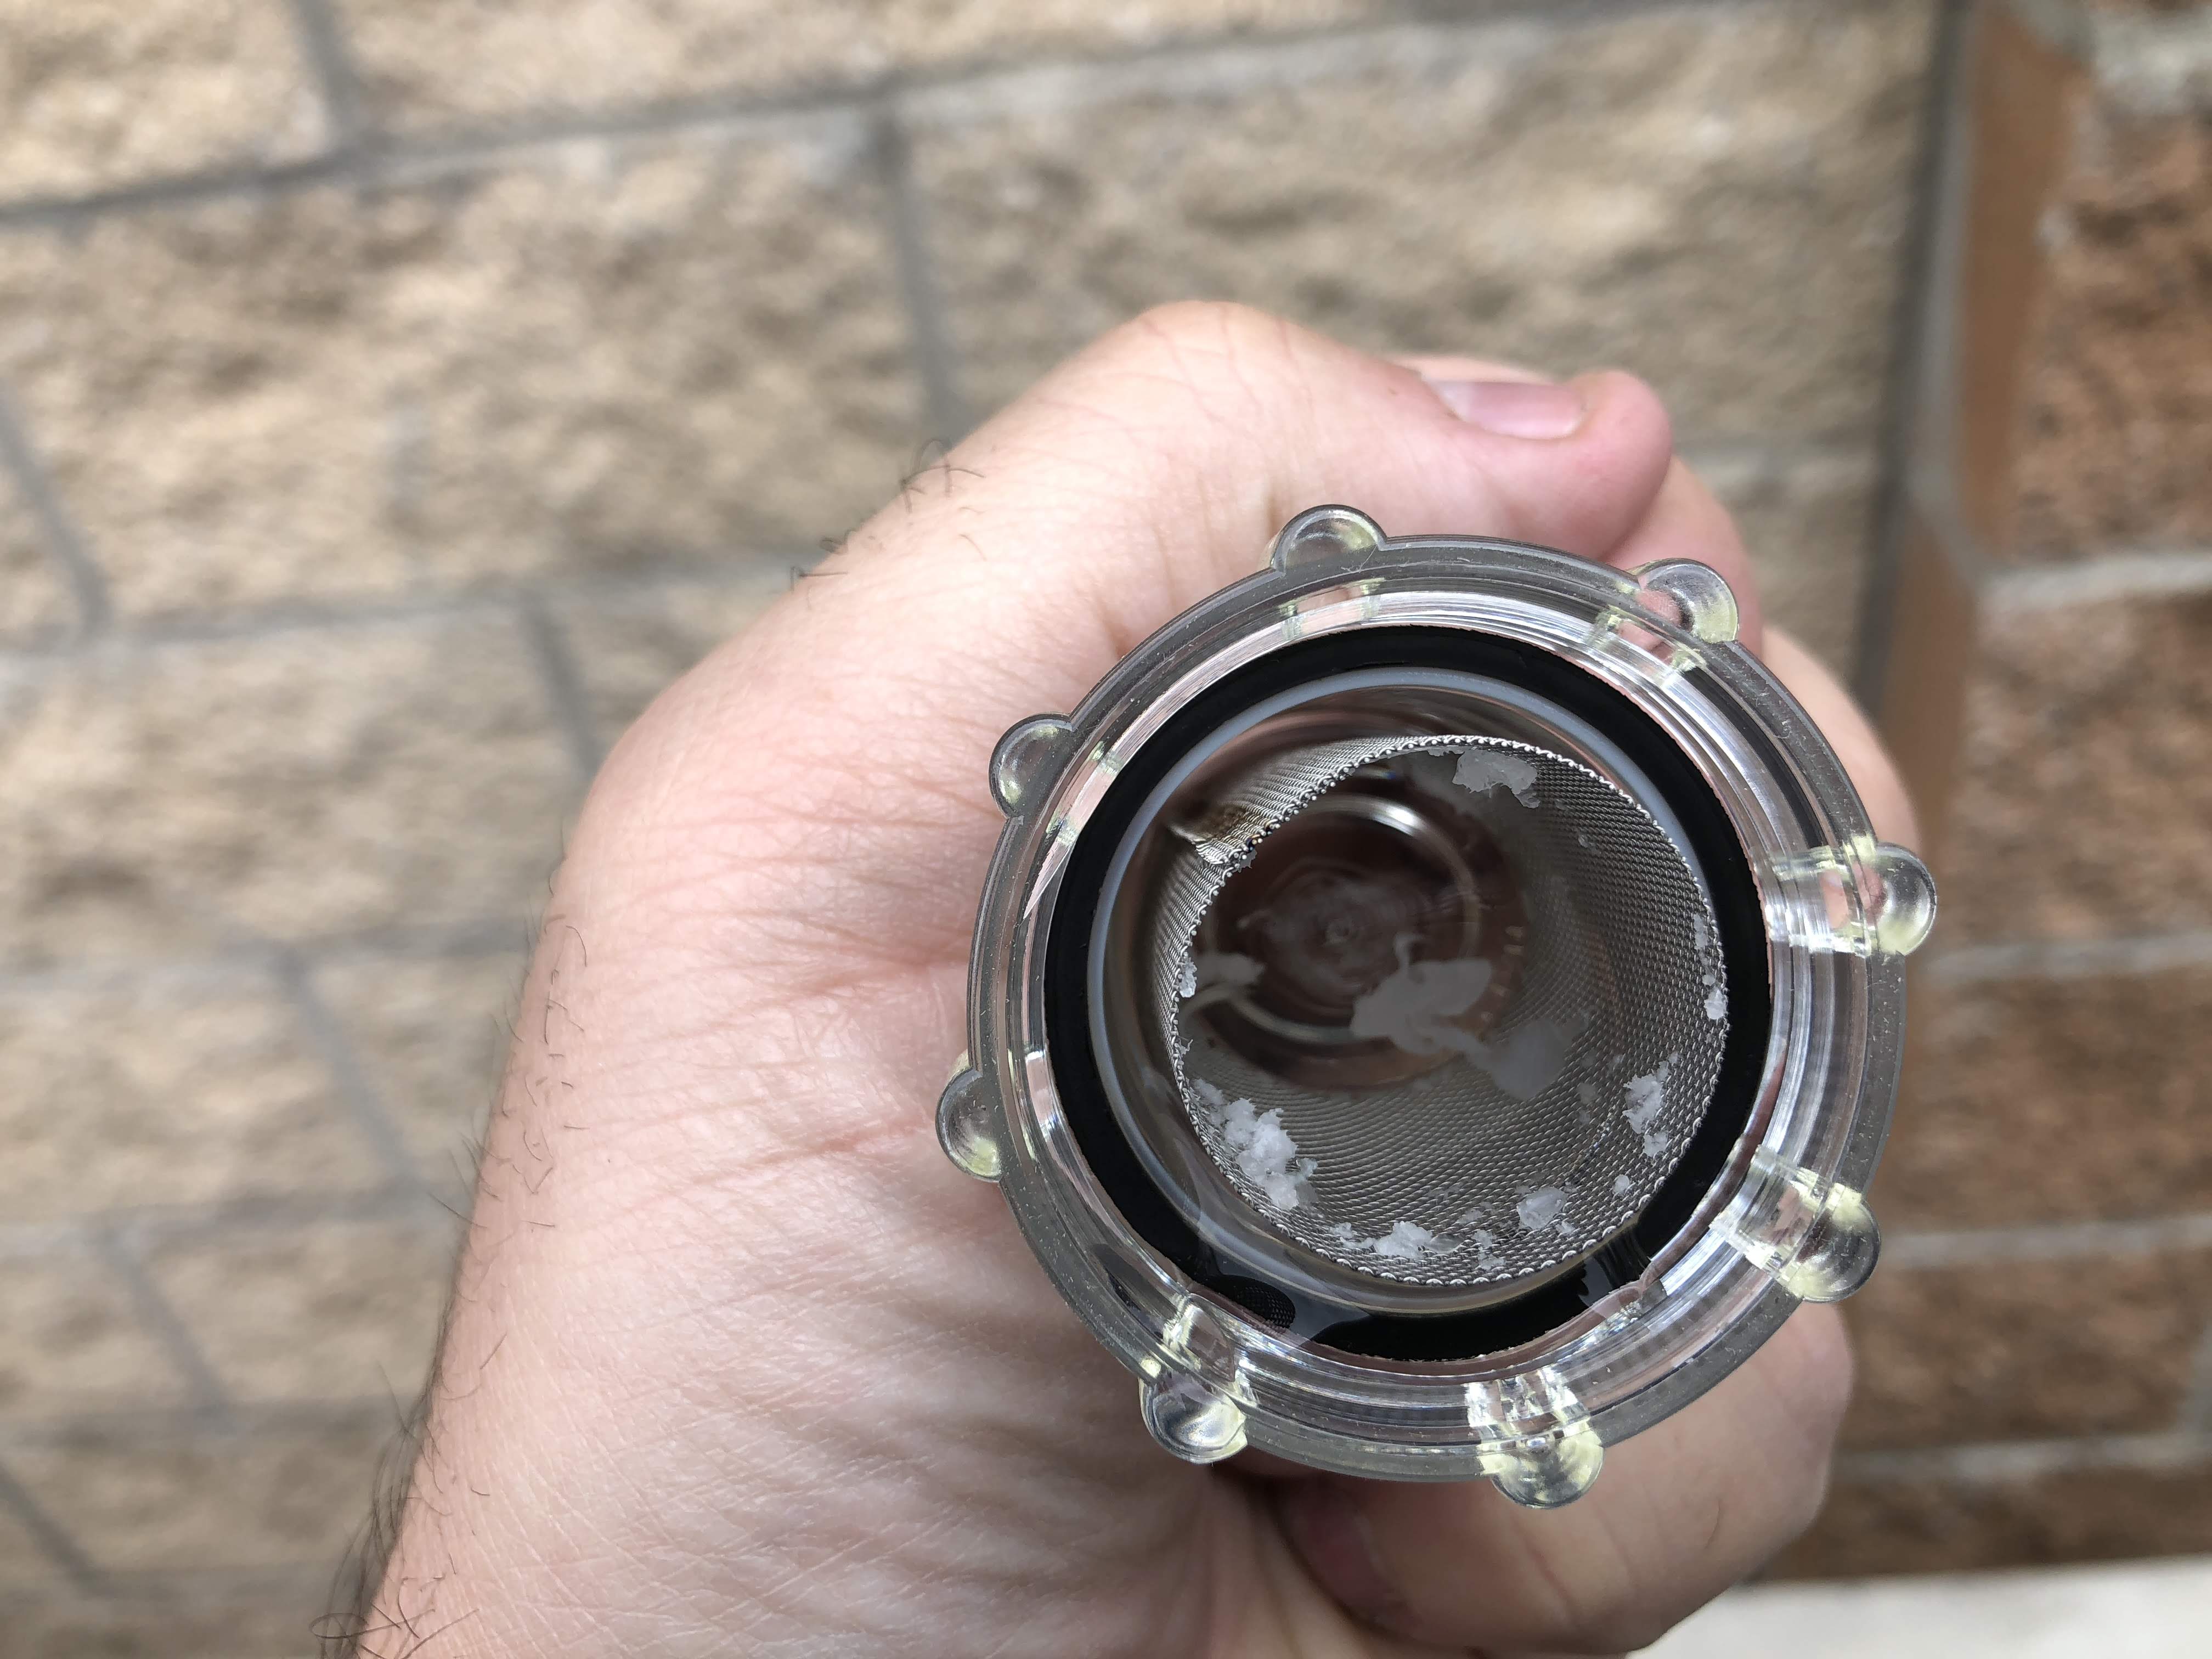
Next we move on to accessing the water pump. In our 27BHSS the water pump is located in the cabinet under the sink. There is a blank panel that needs to be removed and then you will be able to see the pump. We start off by removing the debris filter and emptying it out and then reinstalling it. As you can see there are several bits of plastic that was in ours, which was likely left over from the building process.
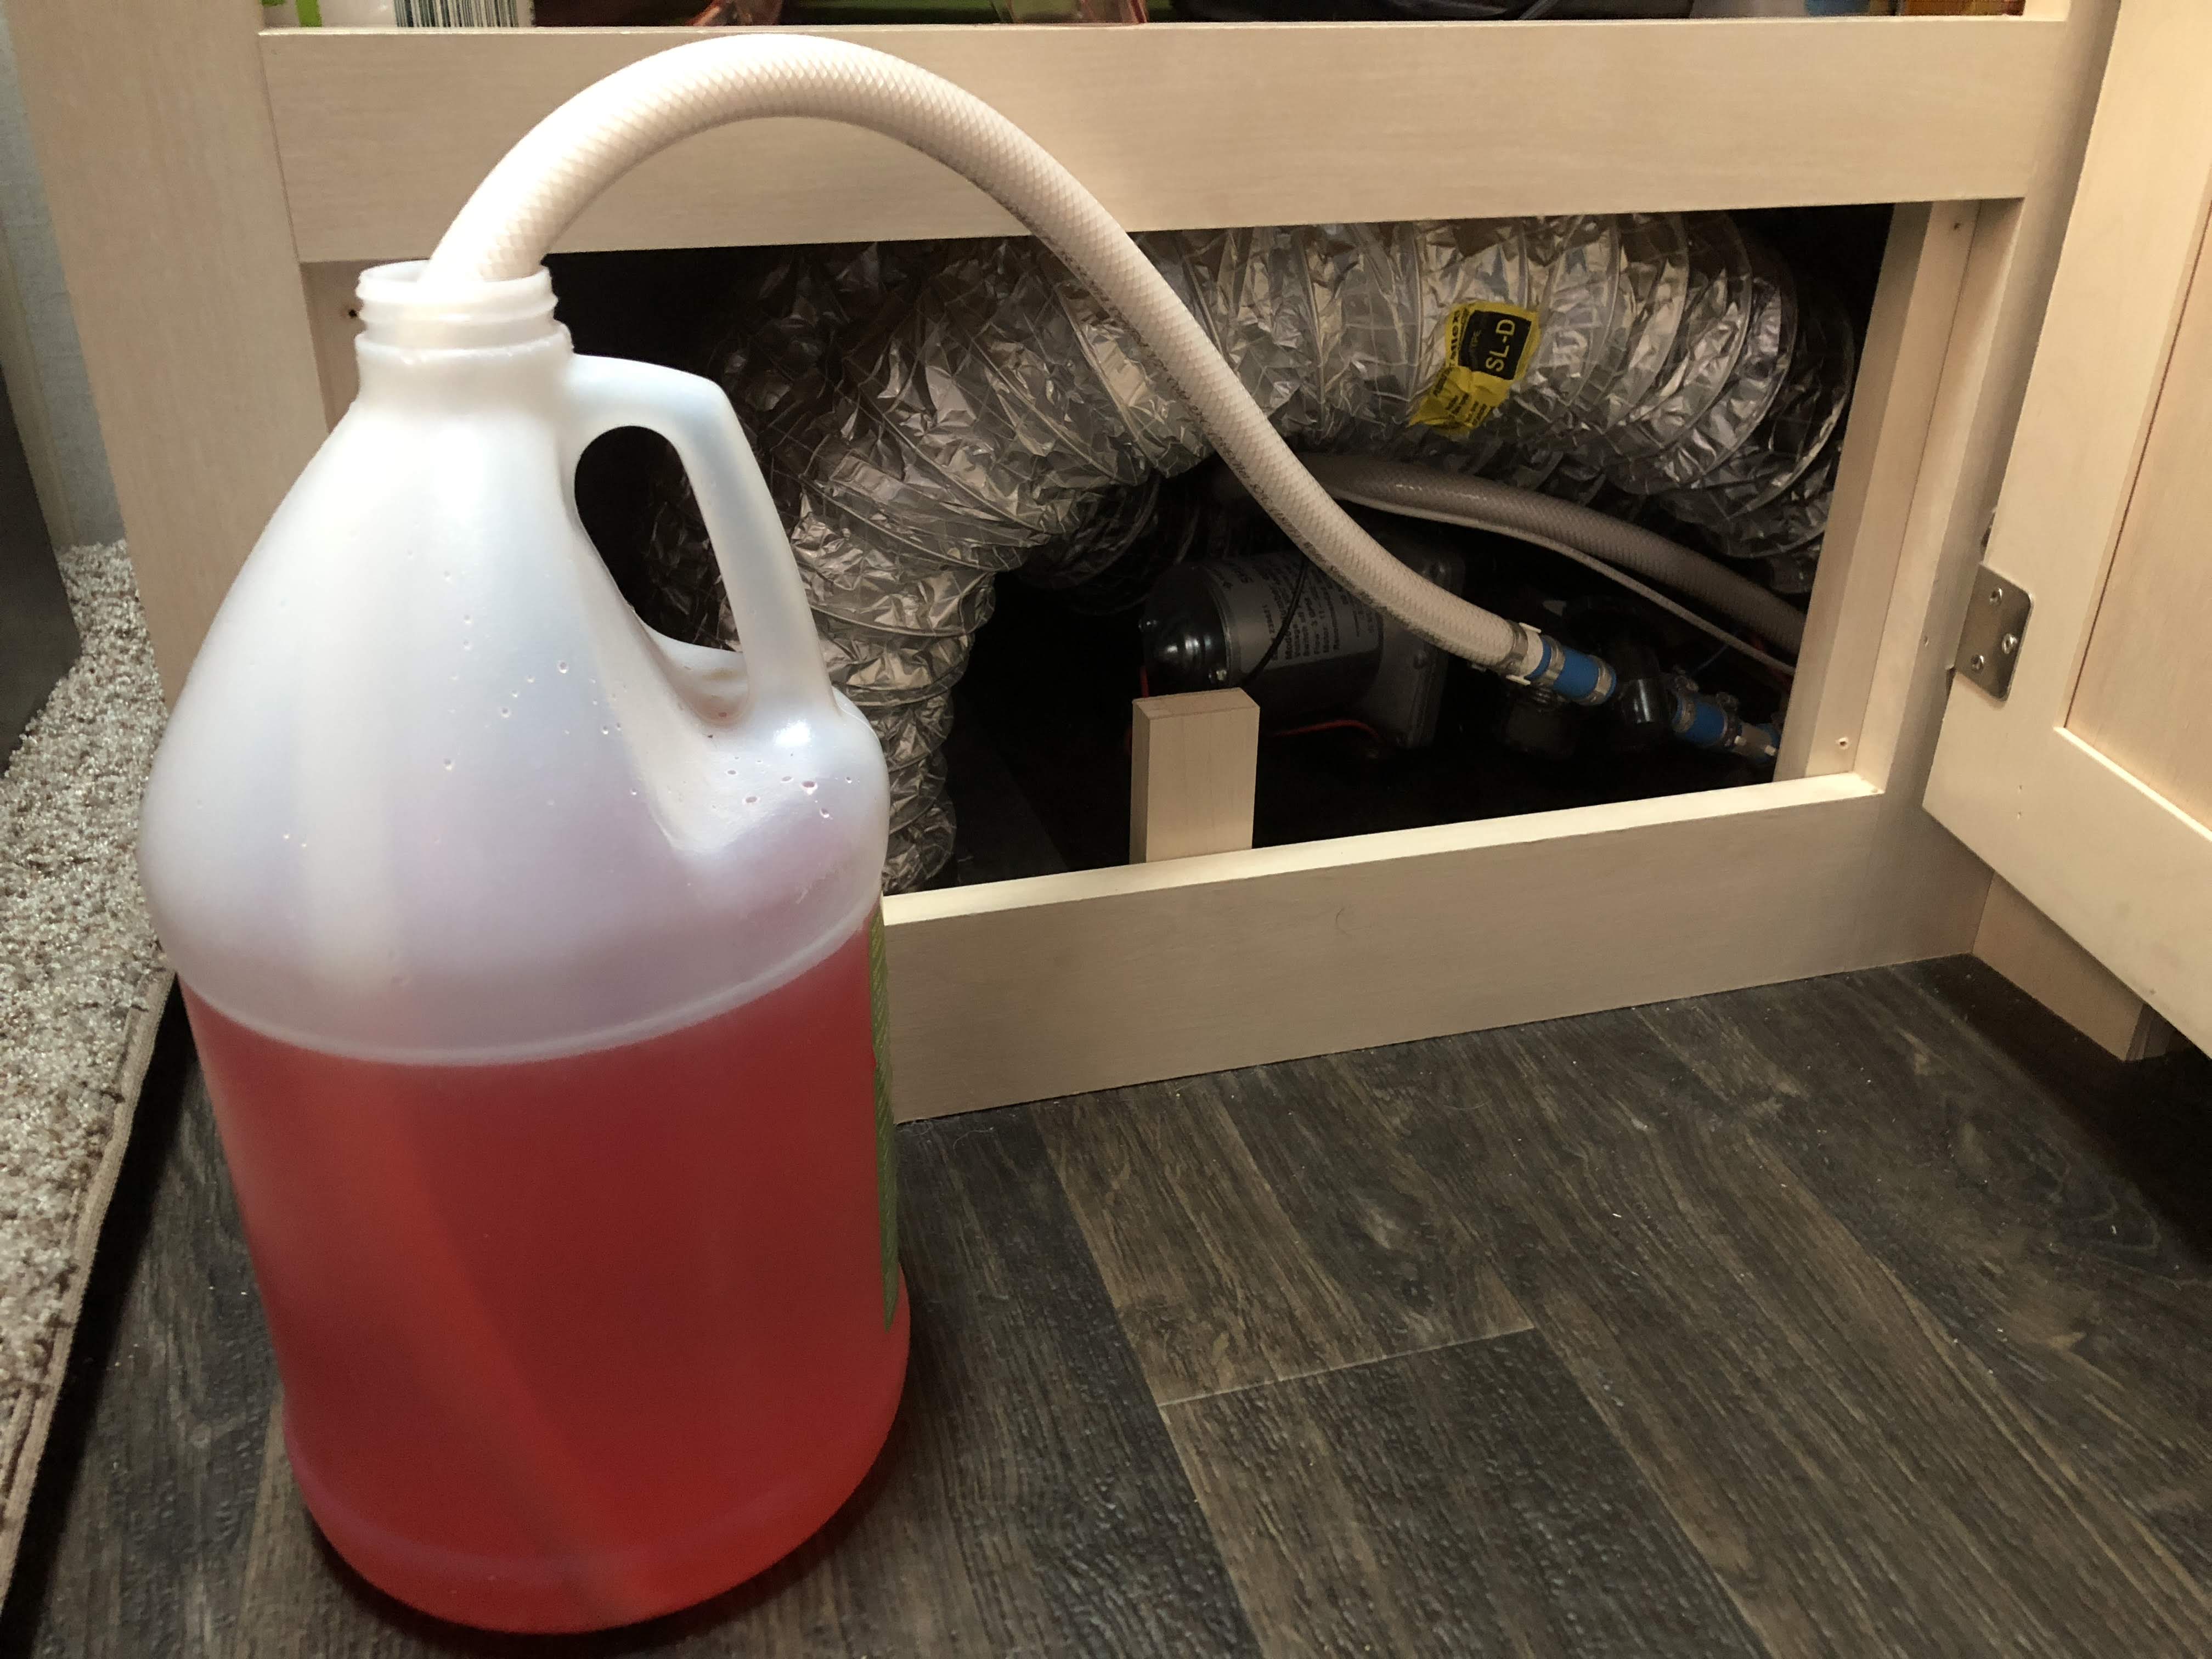
Our Winnebago came equipped with a winter bypass kit which makes this job much easier. Our keystone did not have one and we had to install one. But with it installed already we just needed to turn the valve on the line from the fresh water tank to be perpendicular (closed) to the line and to run the valve connected to the straw to be parallel (open) with the line. This makes it so that the pump will pull through the straw and not the fresh water tank. Now we insert the straw into a jug of RV anti-freeze and turn the pump on and wait for the system to pressurize.
Now we simply go to each faucet and open both the hot and cold lines until we see pink running though. We also make sure we run the shower and toilet as well as both outdoor sprayer ports. We then take any remaining antifreeze and pour it in the drains to help fill the p-traps and then also put a good amount in the toilet bowl.
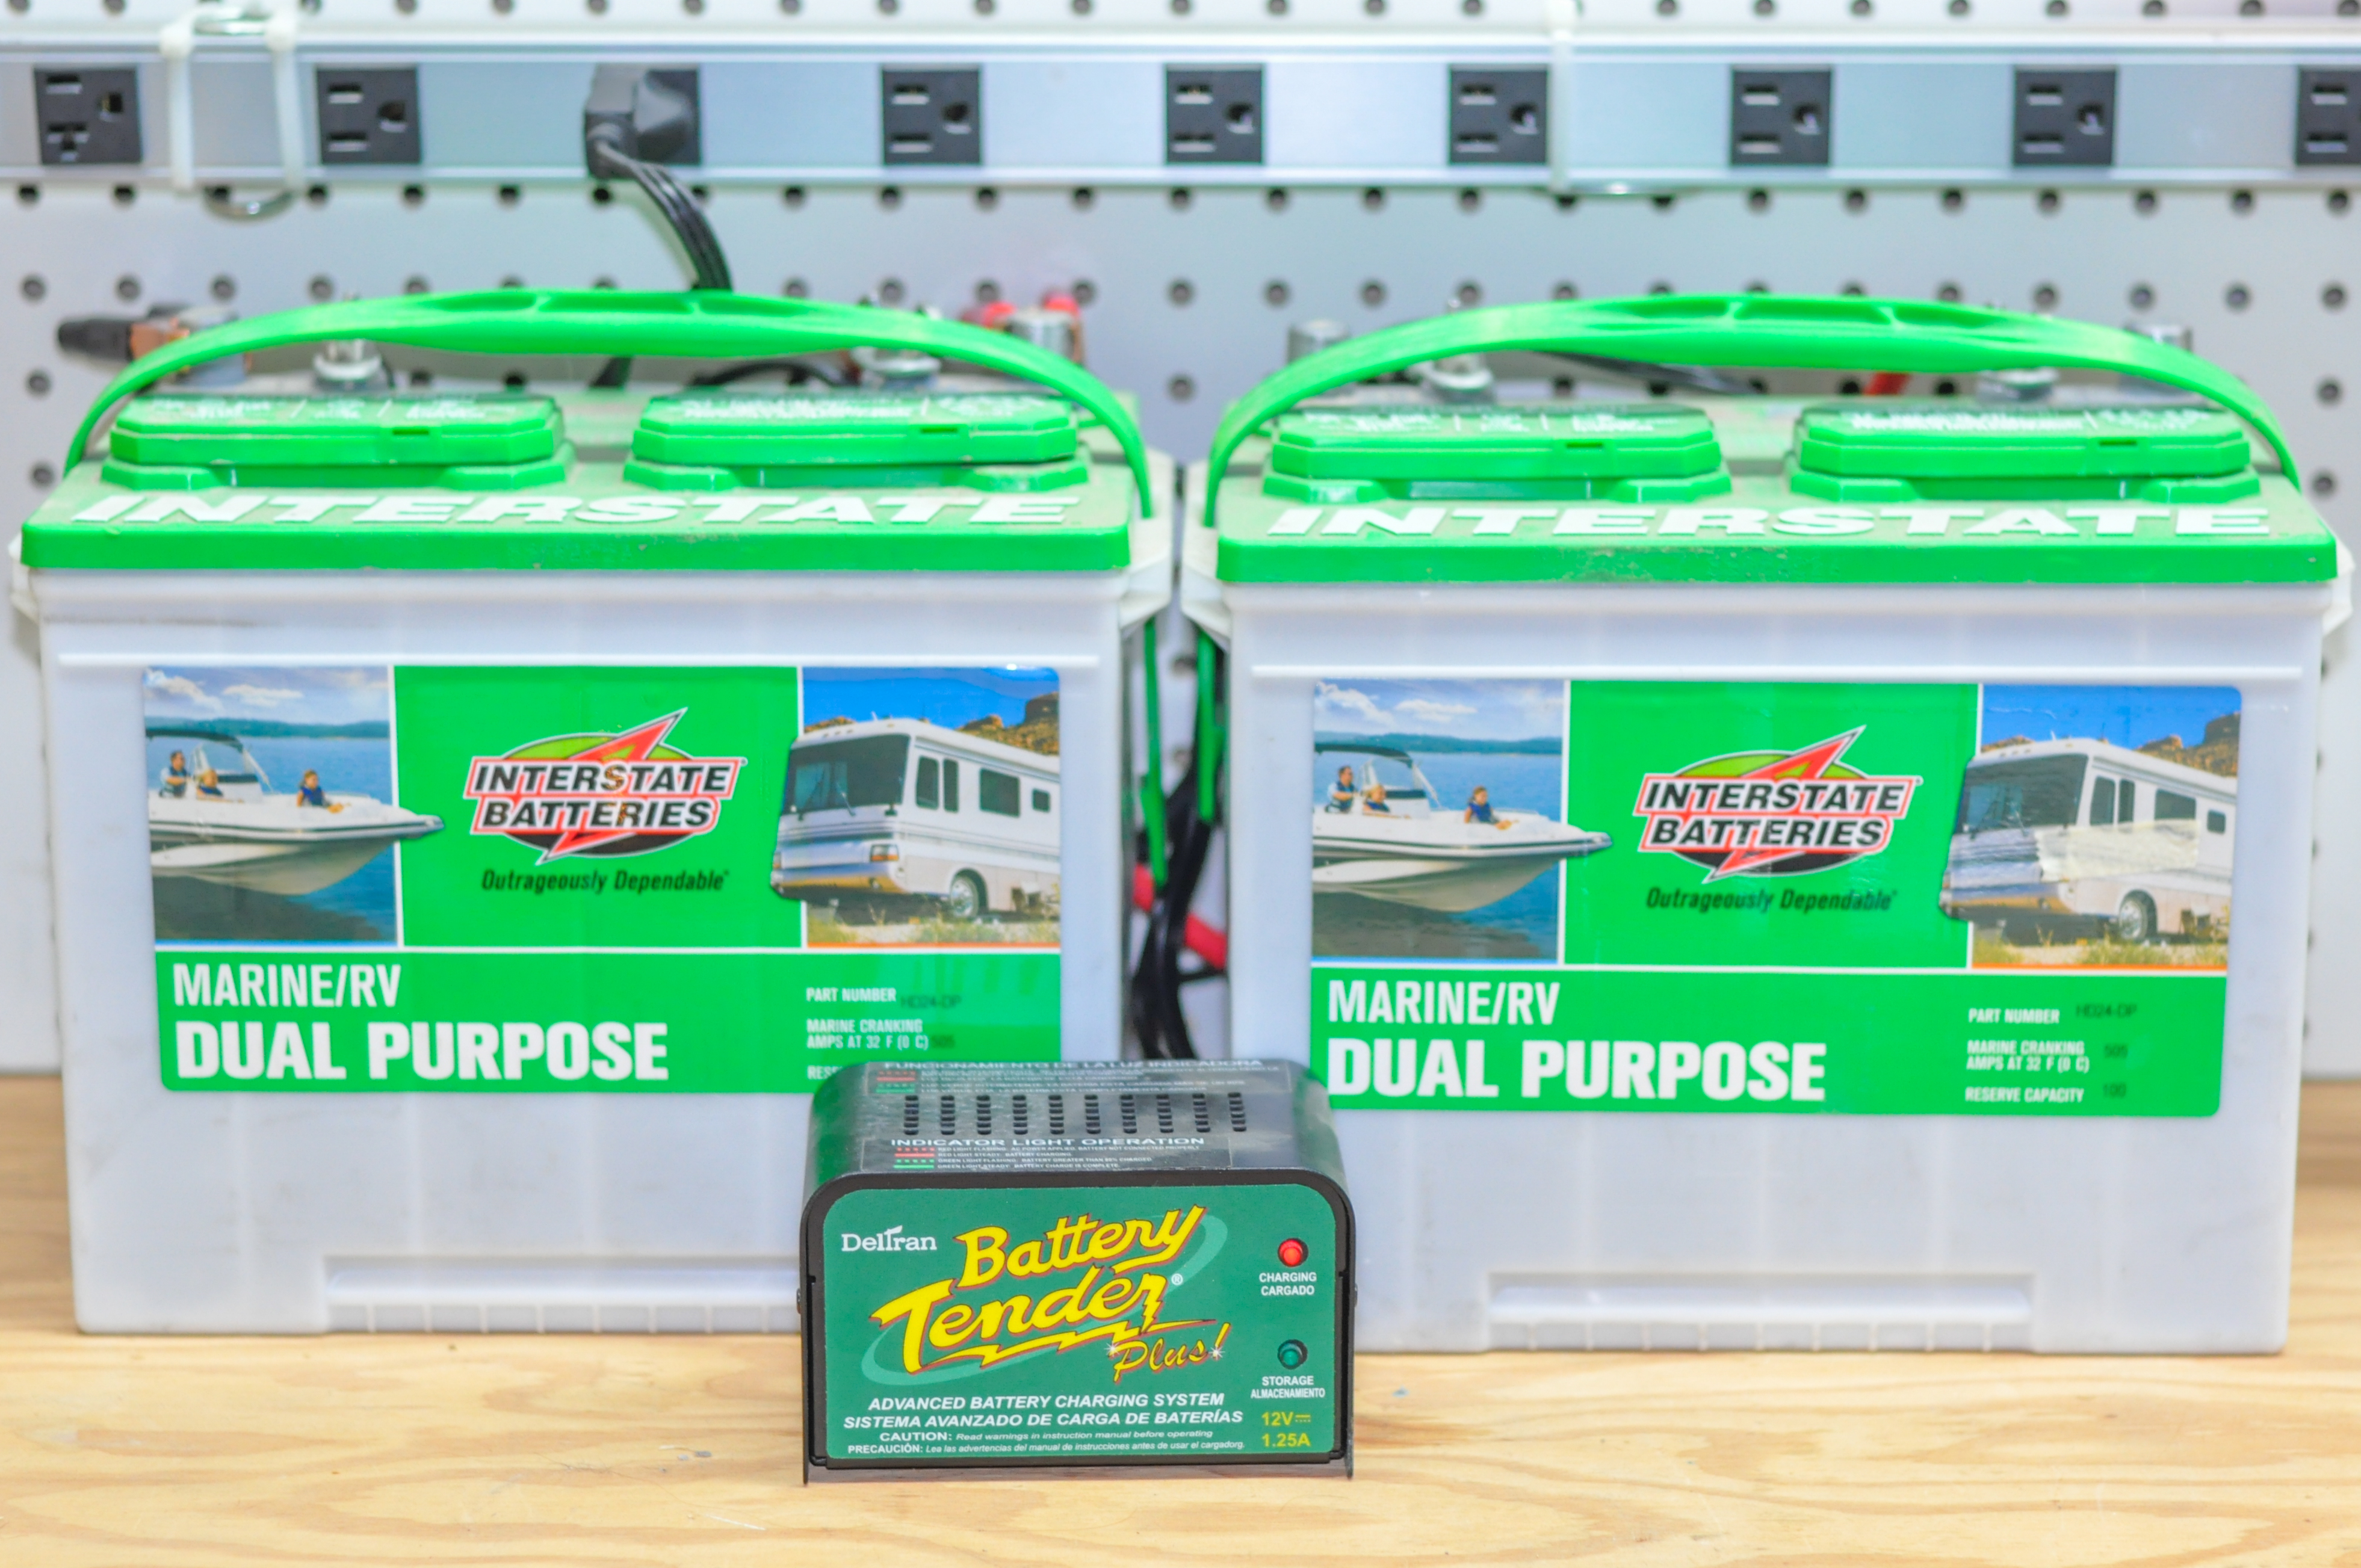
At this point, we remove the batteries from the rig and take them back to our house and place them on a trickle charger. We also take this opportunity to clean up the batteries and their terminals and to make sure that they are topped off with distilled water. It is important to keep them charged to prevent damage to them and we have had great luck with the Battery Tender charger.
One thought on “How to Winterize a Winnebago Minnie Plus”
Thank you so much!! Ours is a 2019 minnie winnie 2500FL. HOPEFULLY your video will help my husband. 1st time winterizing this one. 🙂